
Last updated November 17, 2026
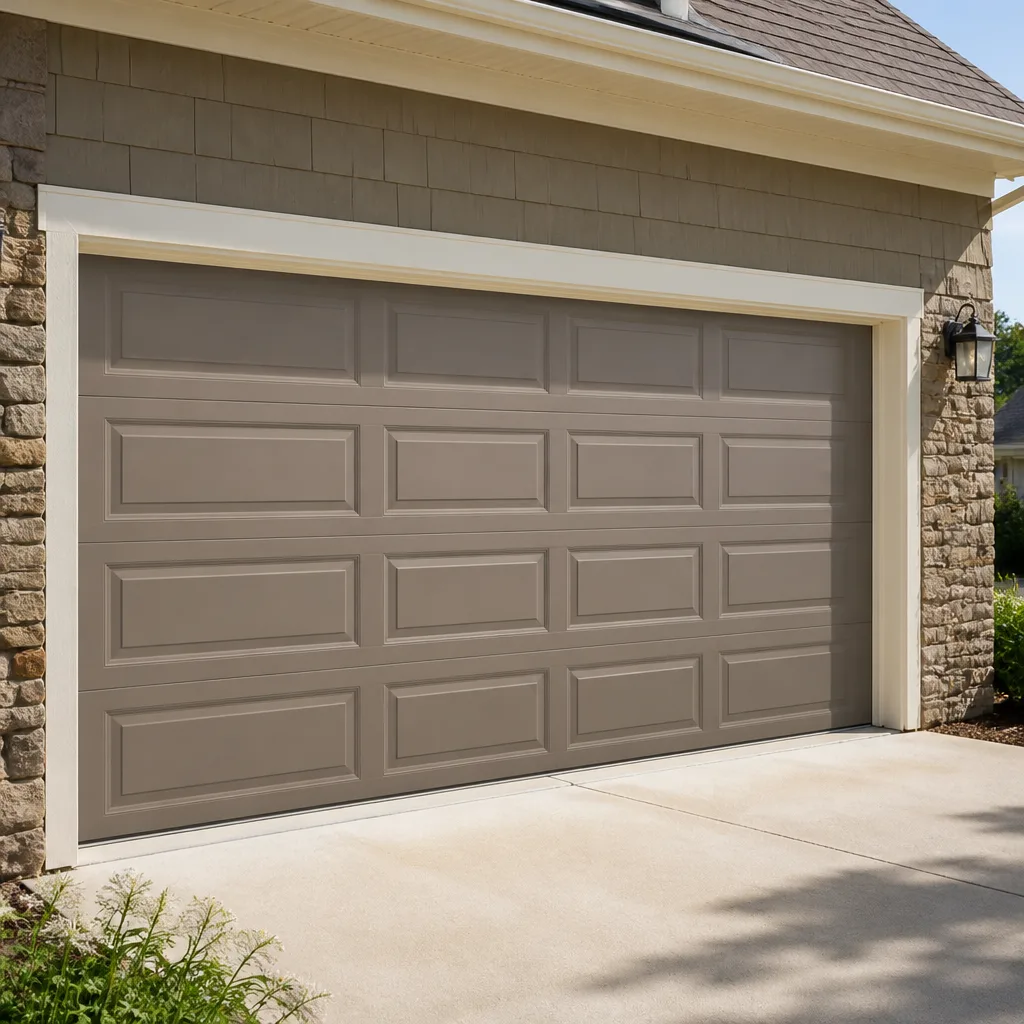 Raised-panel steel
 Carriage house
 Modern flush
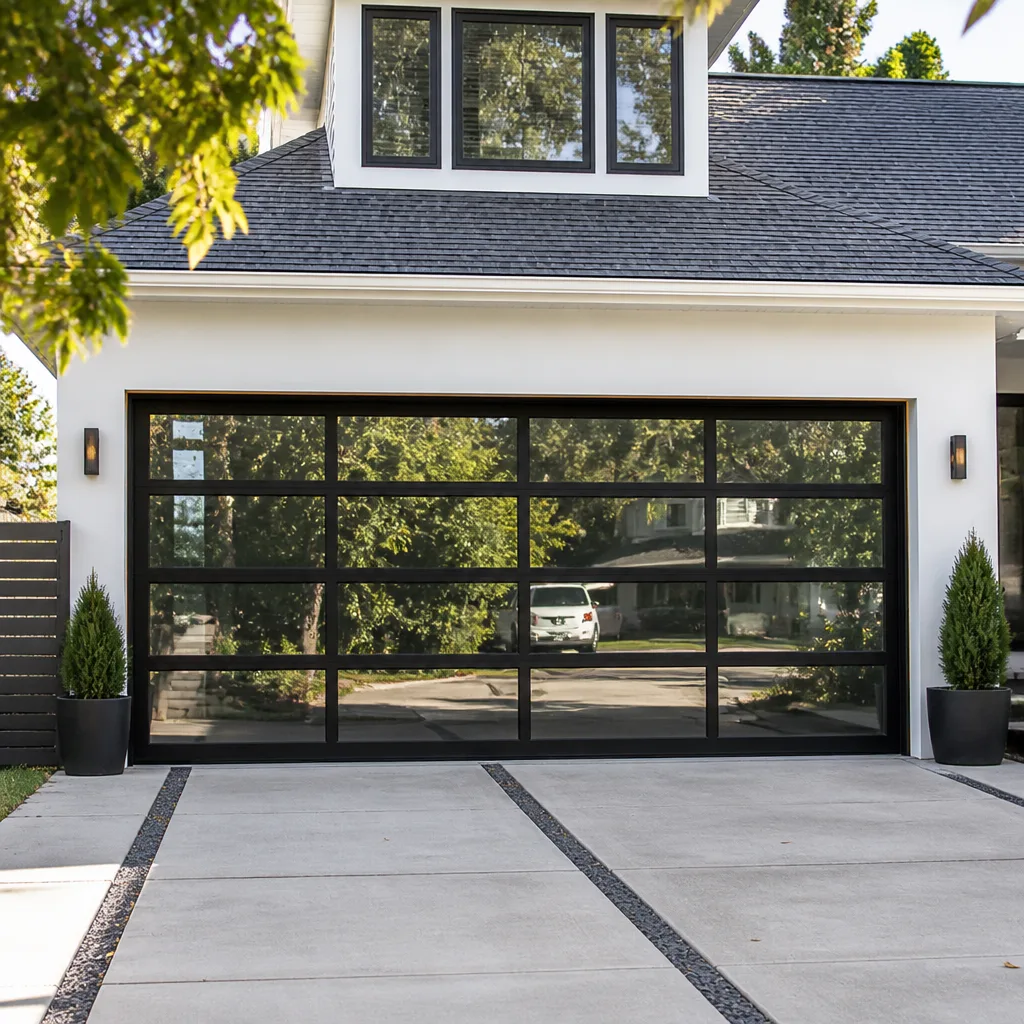 Full-view glass
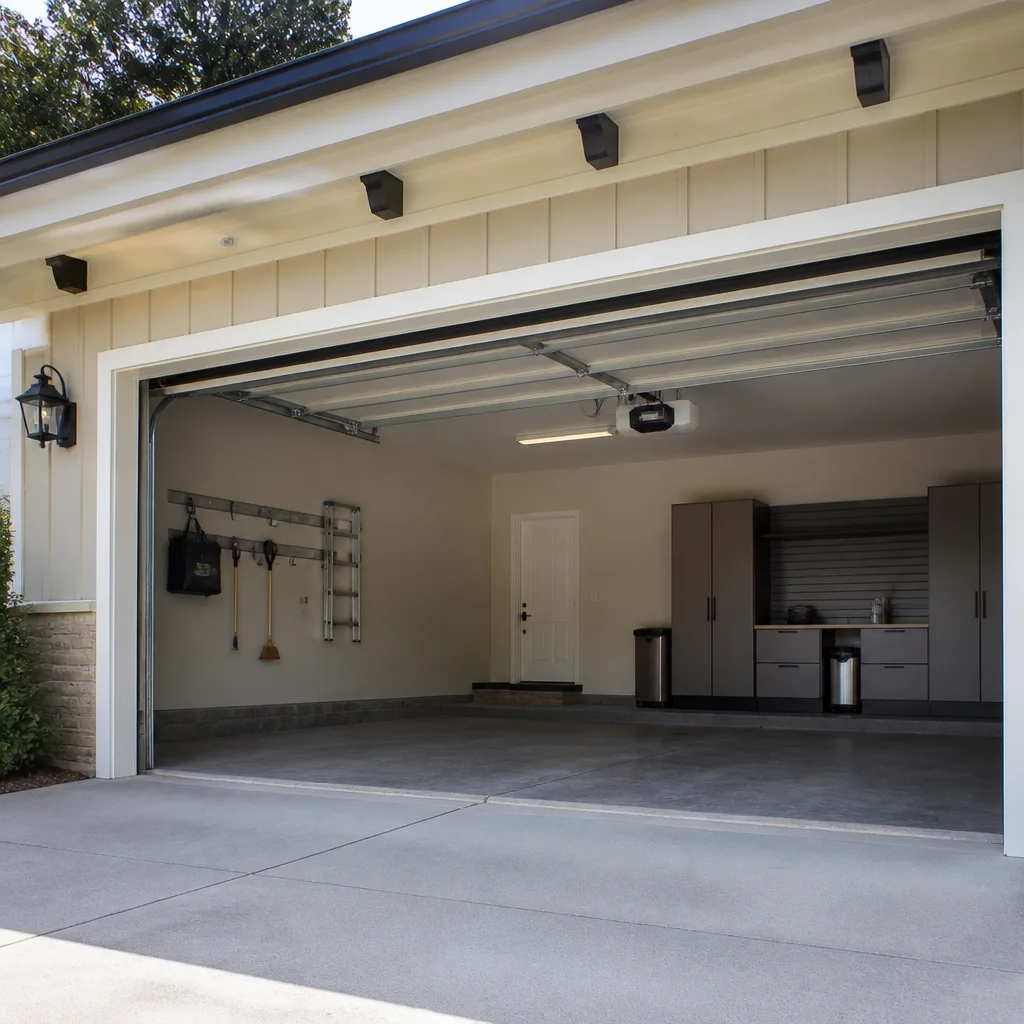 LiftMaster openers
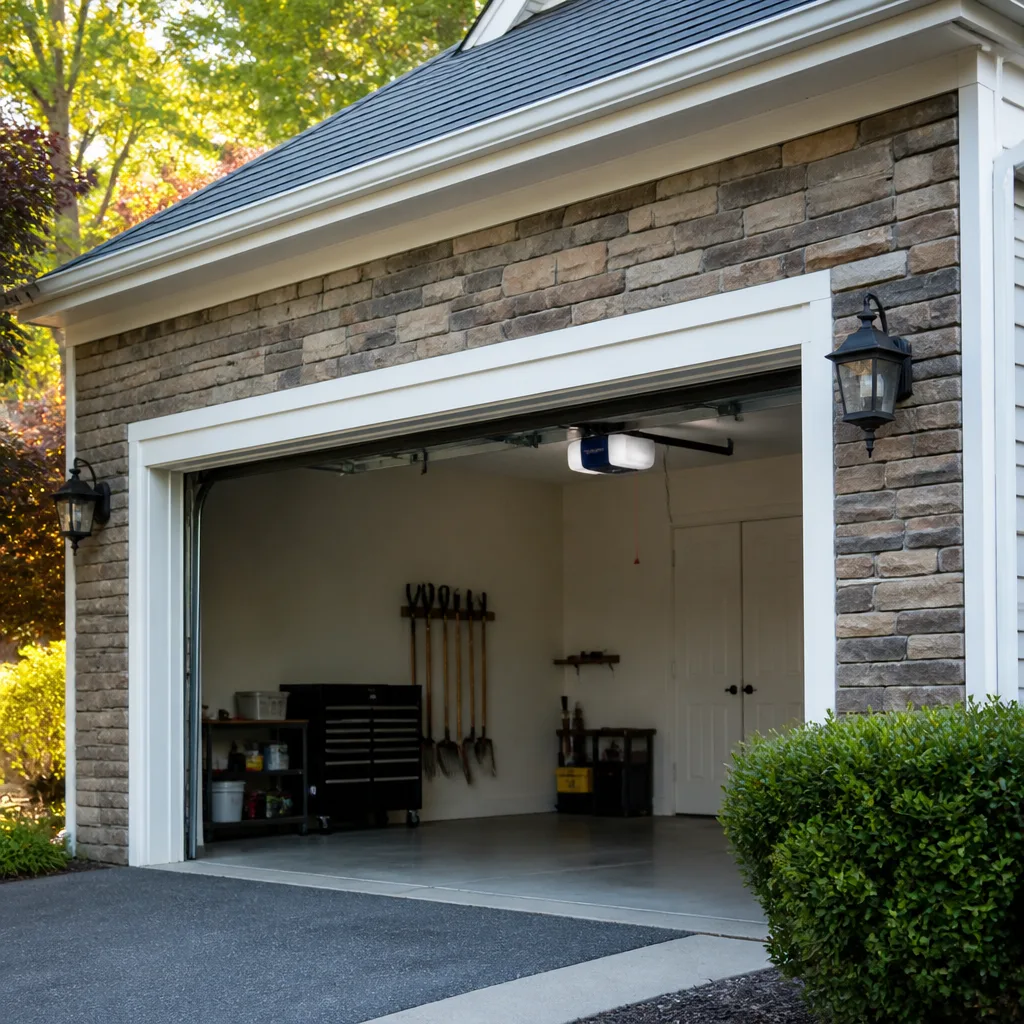 Chamberlain openers
Full 25-point door and opener safety check with every visit - springs, cables, rollers, tracks, and your LiftMaster or Chamberlain opener included
You get a price before we start. It does not change when the pro arrives.
Get your free estimateGarage Door Installation Troubleshooting: Common Problems and How to Fix Them
A new garage door that reverses before closing, drifts to one side, or makes a rhythmic clicking sound isn’t broken. It’s almost certainly mis-adjusted, and adjustment is covered under any reputable installer’s labor warranty. The homeowner who knows this makes one phone call. The homeowner who doesn’t sometimes pays for a second service visit they didn’t need.
We’ve watched this play out on hundreds of new doors across Mesquite, from Sun City to Highland Hills. Most first-month problems trace back to set screws, limit travel, or force sensitivity, not to a bad panel or a failed opener. This guide walks you through the six most common post-installation symptoms, tells you which are installer adjustments versus product defects versus homeowner settings, and shows you how to document a problem before you call so the conversation starts with facts. By the end, you’ll know exactly who’s responsible for fixing what.
Quick Answer
Most garage door problems in the first thirty days after installation are installation errors, not product defects, and any reputable installer should correct them under labor warranty at no charge. The six most common symptoms are reversed travel, uneven drift, rhythmic noise, a door that won’t fully close, photo-eye failure, and a remote that won’t sync. Document each one with photos and timestamps in the first 48 hours, and you have everything you need for a clean warranty callback.
Styles & brands we work with
- Raised-panel steel
- Carriage house
- Modern flush
- Full-view glass
- LiftMaster openers
- Chamberlain openers
Table of Contents
- The Six Most Common Post-Installation Symptoms
- How to Test Your New Door in the First 48 Hours
- Testing Door Balance and Limit Settings
- Labor Warranty vs. Manufacturer Warranty: What Covers What
- How to Document an Installation Problem
- What a Correct Final Walkthrough Should Include
- Mesquite-Specific Issues: Heat, Dust, and Sandstone Soil
- Common Mistakes to Avoid
The Six Most Common Post-Installation Symptoms
Almost every problem we hear about after a fresh install falls into one of six categories. Sorting the symptom first saves time, because each category has a different owner. Here’s how we think about them.
- Door reverses before closing. This is almost always a force sensitivity setting or a misaligned photo-eye. It’s an installer adjustment, covered under labor warranty. LiftMaster and Chamberlain openers both have a force-travel dial or a programmed force limit that needs calibration once the door is hung and operating.
- Door drifts left or right. Uneven tension on the torsion springs or a track that’s out of plumb. This is an installer adjustment. On a Clopay or Amarr steel door, a 1/8-inch plumb deviation at the track top can cause visible drift by day three.
- Rhythmic clicking or grinding. Usually a loose hinge screw, a roller seated wrong, or a set screw on the torsion bar. Installer adjustment unless a roller came from the factory with a bad bearing, which is rare but happens.
- Door won’t fully close or opens partway. Limit switch setting. Installer adjustment, corrected by programming travel down or up by a few clicks. On Genie openers this is often a screw on the back of the motor housing.
- Photo-eye or safety sensor fault. Sensor alignment, wiring, or sun interference. Installer adjustment most of the time; a genuinely dead sensor is a product defect covered by the manufacturer.
- Remote won’t sync or works intermittently. Frequency not matched, battery orientation, or a wall console that needs re-pairing. Installer adjustment. Occasionally a dead remote battery from sitting in a box, which is on the homeowner.
The pattern matters: five of the six are installer adjustments. That’s the whole point of your labor warranty, and calling your installer is the right first move, not a sign you’re being difficult.
How to Test Your New Door in the First 48 Hours
The first 48 hours are the easiest window to document and correct problems because the installation is still fresh in everyone’s mind, the crew hasn’t moved on to the next job’s paperwork, and any adjustment needed is quick. Run through these checks the same evening the crew leaves, then again the next morning.
- Watch a full open and close from outside the door. Look for drift, hesitation, or a jerky reversal. Note the time.
- Break the safety beam manually. Wave your leg through the photo-eye path while the door closes. It should reverse immediately. If it doesn’t, the sensor needs alignment.
- Lift the door halfway by hand. With the opener disengaged, a properly balanced door stays where you put it. If it drifts down, the springs are undertensioned.
- Test the force sensitivity. Place a 2×4 flat under the closing door. When it contacts the board, the door should reverse. If it pushes hard against the board, the force limit is too high.
- Run every remote. Both car remotes and the wall console. Make sure each one works the door from the distances you’ll actually use it.
- Note anything unusual with a photo and a timestamp. A short video on your phone is even better.
If any check fails, call the installer the same day. In our experience, a problem reported within 48 hours gets scheduled faster than one reported three weeks later because the crew is still familiar with your specific door and opener combination.
Testing Door Balance and Limit Settings
Balance and limit settings are the two adjustments that cause the most confusion, partly because they sound similar and partly because fixing one often looks like it fixes the other. They’re different. Balance is about the springs and the door’s weight. Limits are about where the opener thinks open and closed are.
Door balance
Disengage the opener (usually a pull cord hanging from the trolley), lift the door to the halfway point, and let go. A correctly balanced door holds its position. One that sinks means the torsion springs need more tension. One that rises means too much tension. Either way, springs are under high tension and store lethal energy. Don’t adjust them yourself, even if a video makes it look easy. Call the installer.
Limit settings
Limits tell the opener how far to travel. If your door stops two inches short of the floor or drives into the header before reversing, that’s a limit issue. On most LiftMaster and Chamberlain units, limits are set with the up and down arrows on the motor housing. On Genie, it’s usually two screws on the back of the unit labeled “open limit” and “close limit.” This is a homeowner-settable adjustment on some openers, but we recommend having the installer demonstrate the correct procedure during the final walkthrough so you know what to touch and what to leave alone. Adjusting limits when they’re already correct is how a travel problem gets created.
Force sensitivity
Force is the third setting most people confuse with limits. It’s how hard the door pushes before it reverses. Too high and the door won’t stop for a child or a pet. Too low and the door reverses on a cold morning for no visible reason. Test it with the 2×4 method above and have the installer reset it if the door doesn’t reverse cleanly. See Garage Door Repair in Mesquite if you’re past the initial window and want a professional to check all three settings together.
Labor Warranty vs. Manufacturer Warranty: What Covers What
The single most useful thing you can do before the installer’s truck leaves your driveway is read both warranty documents. They look similar but they cover completely different things, and knowing the difference determines whether your callback is free or a $150 service call.
Labor warranty comes from the installer. It typically covers the workmanship of the installation: adjustment of springs, tracks, limits, force settings, sensor alignment, and re-hanging a door that wasn’t plumb. Most reputable installers offer at least a 90-day labor warranty, and ours runs a full 365 days under the Done Right Promise. Labor warranties do not cover damage you cause by backing into the door.
Manufacturer warranty comes from the door or opener maker. It covers the physical parts: panels, hinges, rollers, springs, motor boards, gears. Clopay and Amarr, for example, warranty their steel panels for years against manufacturer defects. LiftMaster and Chamberlain warranty opener motors. Manufacturer warranties don’t cover installation errors, which is the key distinction.
Here’s how to read the paperwork:
- Find the labor paragraph. It will use the word “installation” or “workmanship.” Note the coverage period in writing.
- Find the parts paragraph on the manufacturer document. Note which components are excluded, because springs, rollers, and photo-eyes are often on a shorter schedule than panels.
- Note whether the labor warranty covers travel or trip charges. Ours doesn’t charge either during the warranty period, but many do.
- Ask the installer to circle the callback phone number on both documents.
If you can’t find either document, ask for them before signing the completion form. Any reputable installer will hand them over without a fuss.
How to Document an Installation Problem
The callback conversation goes much faster when it starts with facts instead of descriptions. “It’s making a noise” starts with twenty minutes of questions. “Here’s a 12-second video from Tuesday at 7:14 a.m., it happens on every third close, and the door is level” gets you scheduled in one call.
Here’s what to capture:
- A photo of the whole door from outside, taken in daylight, with the door at rest. This shows level and plumb.
- A short video of the symptom happening. Thirty seconds is plenty. Include the noise if the symptom is audible.
- The time and date the video was taken. If it’s intermittent, note each occurrence for a day or two so the pattern is visible.
- A photo of the opener unit with the model and serial number visible. Every installer documents their installs by serial number, and this saves a lookup.
- A photo of the photo-eye sensors at floor level on both sides, so the installer can see whether one has been nudged.
- The original installation paperwork, or at least the completion date and invoice number.
Send all of this in a single text or email. When you call, the person on the other end of the line can see the whole picture before the conversation starts. We do this on every callback, and it turns most warranty visits into a single-symptom, single-visit fix. For more on how our team handles callback scheduling, see the Fernbrook Garage Door Repair Mesquite home page.
What a Correct Final Walkthrough Should Include
The final walkthrough is where you learn how your door actually works, and skipping it is how most post-installation problems go unnoticed until week three. Any reputable installer will walk you through the following before you sign the completion form. If they don’t volunteer it, ask for it.
Your installer should demonstrate:
- How to disengage and re-engage the opener manually. You’ll need this during a power outage, and you’ll want to know where the release cord hangs.
- How to run the safety reversal test with a 2×4, so you can repeat it monthly.
- How to align the photo-eye sensors if they get bumped by a bicycle or a pet.
- Where the limit and force settings are located on your specific opener, and what to do if a setting drifts.
- How to pair a new remote to your LiftMaster or Chamberlain opener (and, on some models, how to change the PIN for the keypad).
- How to check the door balance with the opener disengaged.
- Where the warranty documents are and how to reach the callback line.
Sign nothing until every item above has been demonstrated and you’ve run through them yourself. A competent installer spends ten minutes on this. If it’s rushed, ask them to slow down. You’ll be running these checks for the next decade on a door we install, and knowing what to look for is worth those ten minutes. If you’re still deciding which install to book, our Garage Door Installation in Mesquite page covers the full process step by step.
Mesquite-Specific Issues: Heat, Dust, and Sandstone Soil
Mesquite is a hard place on garage doors. Summer highs regularly cross 110°F, the wind carries gypsum dust from the flats, and the soil under most driveways is caliche-heavy sandstone that shifts with the monsoon season. Knowing how these local factors show up in the first month after an install saves guessing.
Heat-related drift. Steel panels expand measurably across a 40-degree swing between night and day. In a Mesquite July, a door that was perfectly plumb at 9 a.m. can look a half-inch off by 4 p.m. This is normal and not a warranty issue unless the drift persists overnight. If it does, the track or hinges need adjustment.
Dust in the tracks. The prevailing wind off the Virgin River corridor deposits fine grit in the vertical tracks within weeks. That grit becomes grease paste and slows the door. Wiping down the tracks every six to eight weeks with a dry rag handles it. Don’t lubricate on a dirty track; the grit turns into grinding paste.
Photo-eye sun interference. Low-angle morning sun can blind a photo-eye sensor aimed east. If your door reverses every morning around 7 a.m. and works fine the rest of the day, this is almost certainly what you’re seeing. A short sun shield or a repositioned bracket solves it. Our team sees this within the first month on a large share of the east-facing doors we install.
Driveway heave. Caliche-heavy soil can shift a drive slab by a quarter inch after a monsoon rain, which changes the effective floor line. If the door starts closing too hard or stopping short after a storm, it’s the slab, not the opener. A limit adjustment is all it takes. Our Garage Door Spring Repair in Mesquite team handles these adjustments during spring service calls too.
Common Mistakes to Avoid
- Calling a service company instead of the installer during the warranty period. If your door is under labor warranty, calling the installer is free. Calling a separate service company usually isn’t. Check your paperwork first.
- Adjusting limits or force settings without documenting what they were. Note the original settings in the manual or on the housing before touching anything. If your adjustment makes things worse, a note tells the installer exactly where to restore.
- Lubricating a dusty track. In Mesquite, tracks collect grit fast. Wipe, then lubricate sparingly. Lubricant on grit behaves like sandpaper on the rollers.
- Ignoring a photo-eye reversal for more than a week. A sensor fault that appears on day two is almost always under warranty. One that has gone on for a month is harder to confirm as installation-caused.
- Assuming a noisy door is normal. Some noise is normal. Rhythmic clicking, a bang on every open, or squealing rollers is not. Each points to a different ticket item.
- Signing the completion form before the walkthrough. The walkthrough is where you learn to run your door. Signing first and learning second is backwards.
- Ignoring heat-related drift right after a monsoon. A door that suddenly changes behavior after rain is usually a slab shift or a track movement, not a spring failure. Have it looked at before another season passes.
See the difference
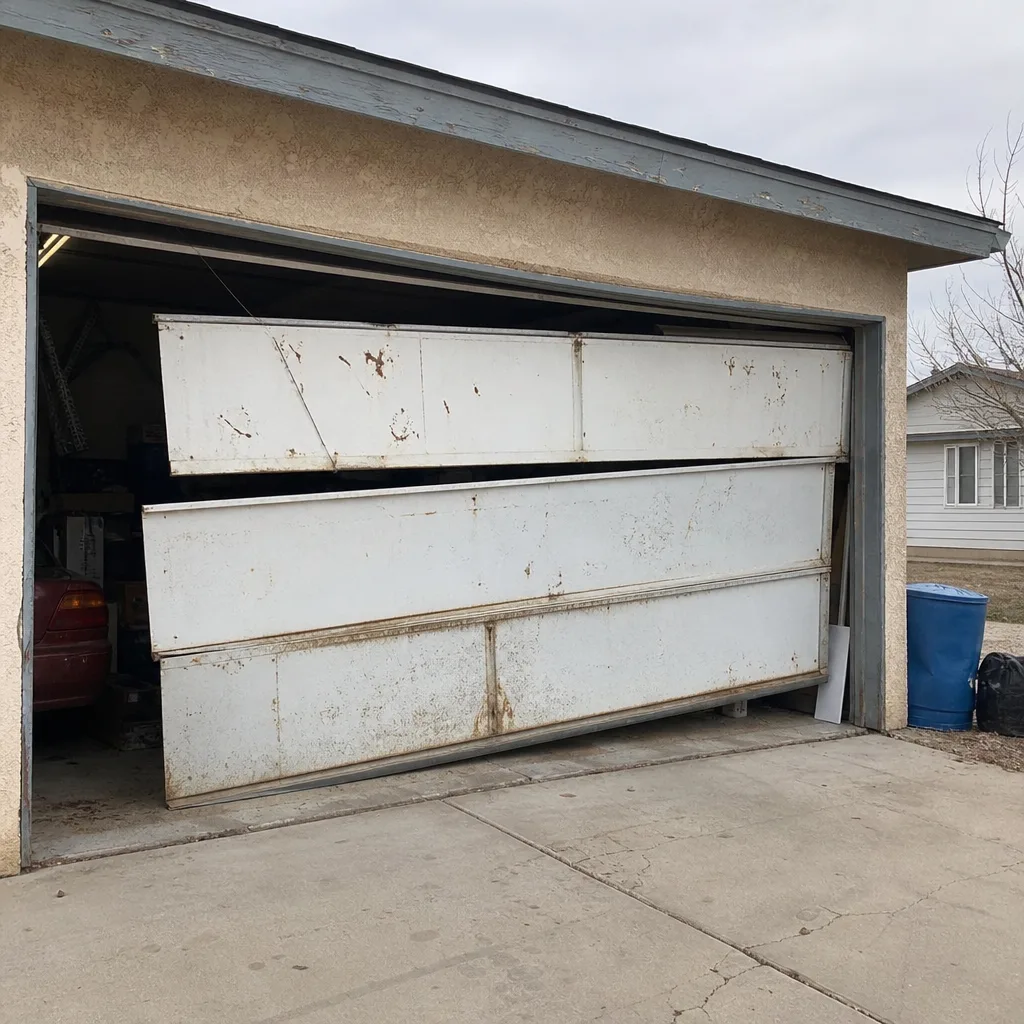 Before
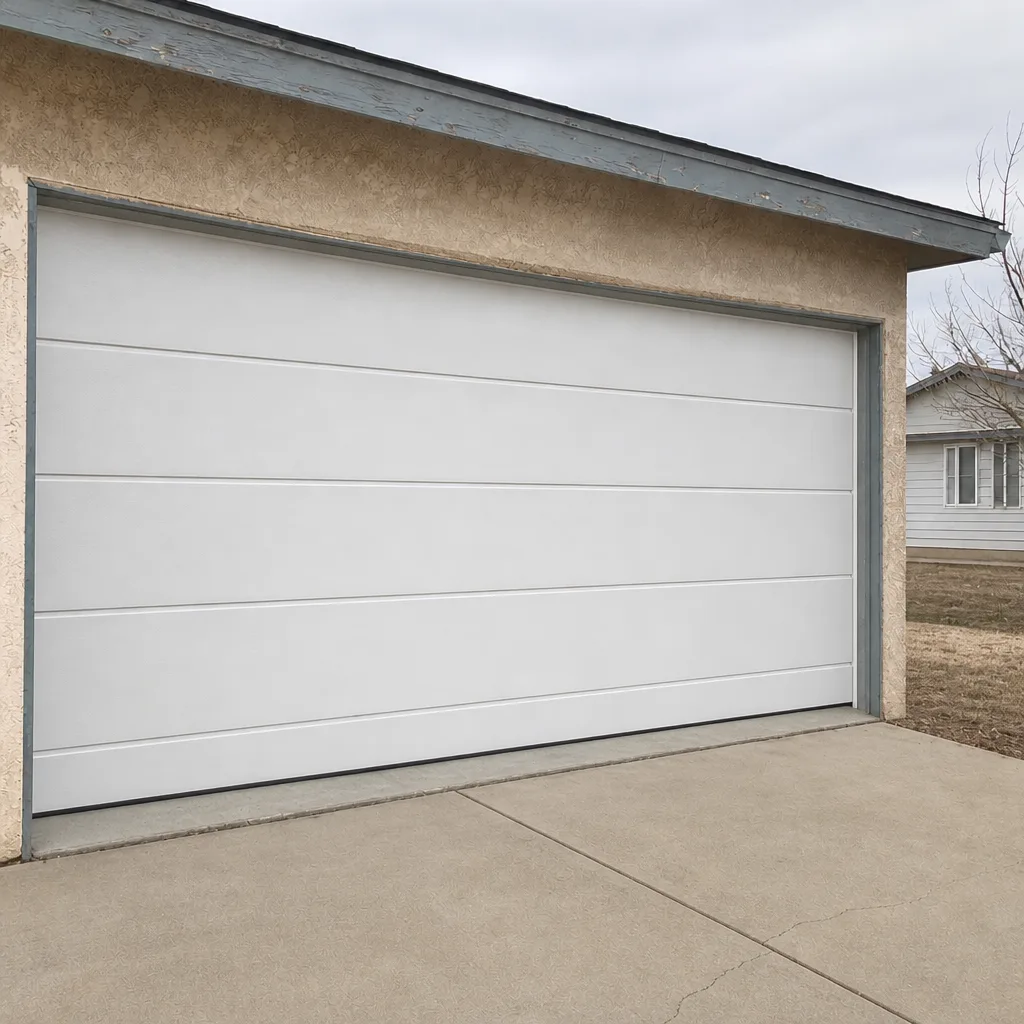 After
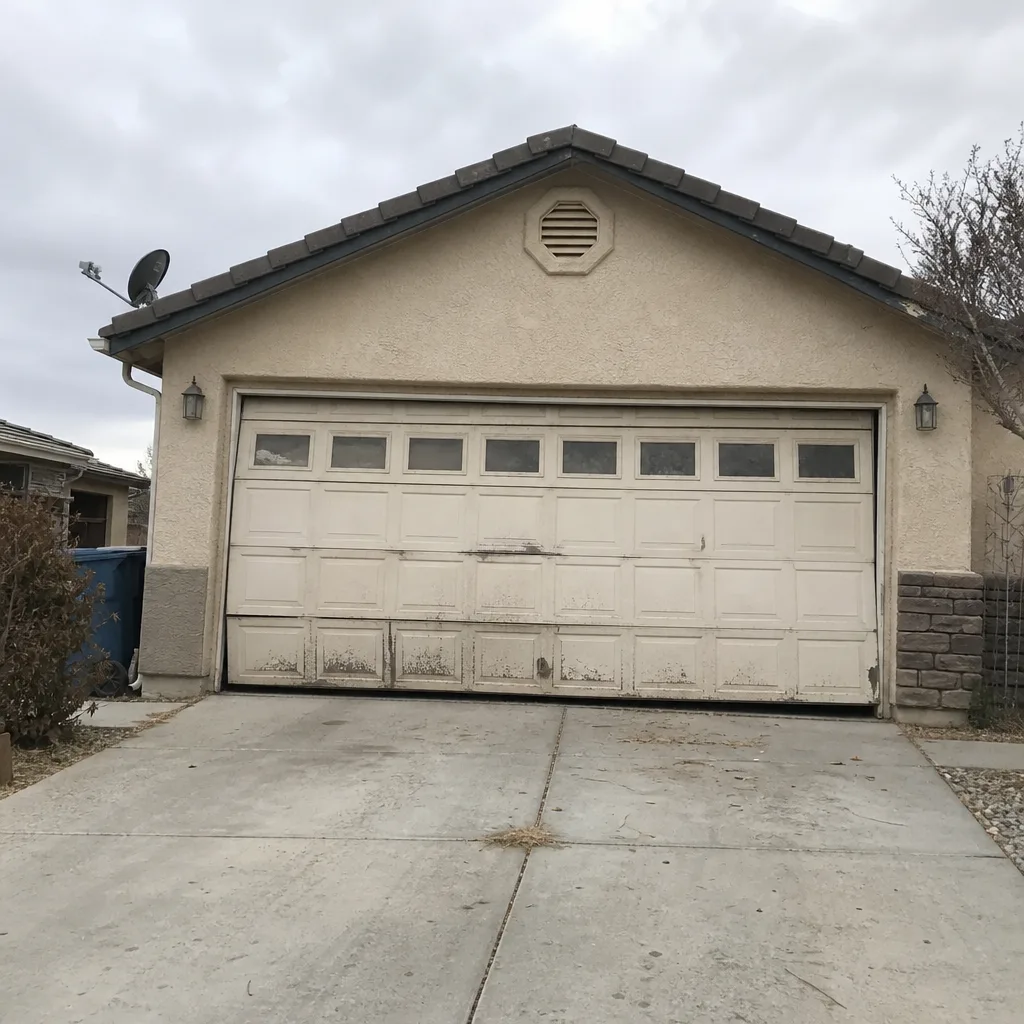 Before
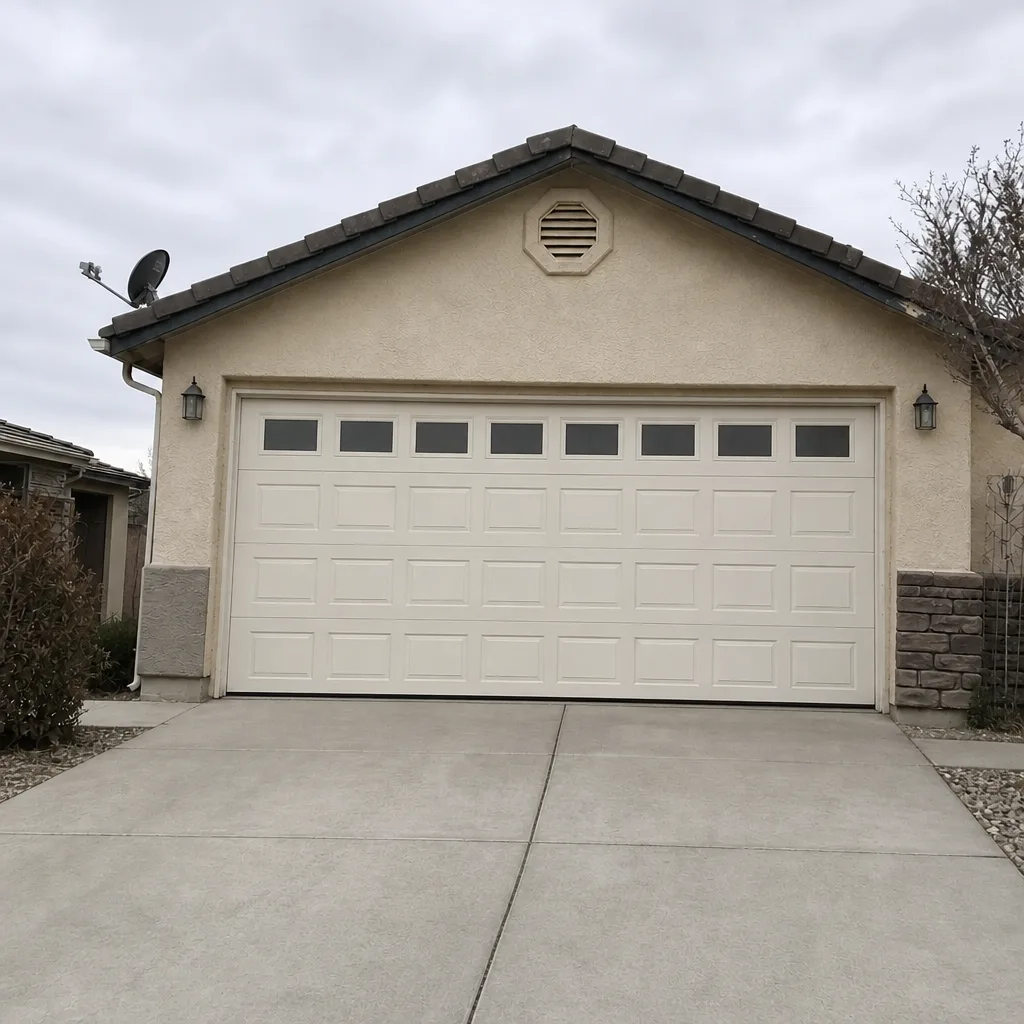 After
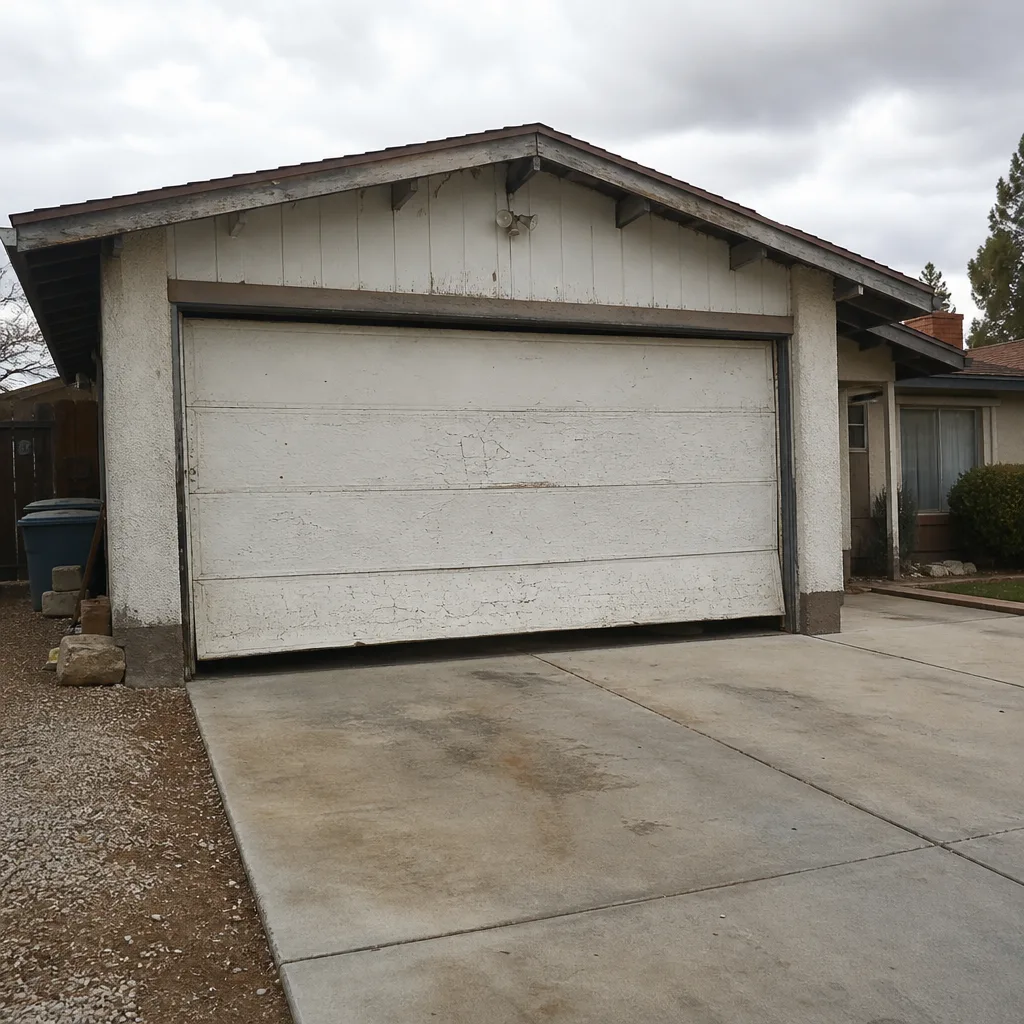 Before
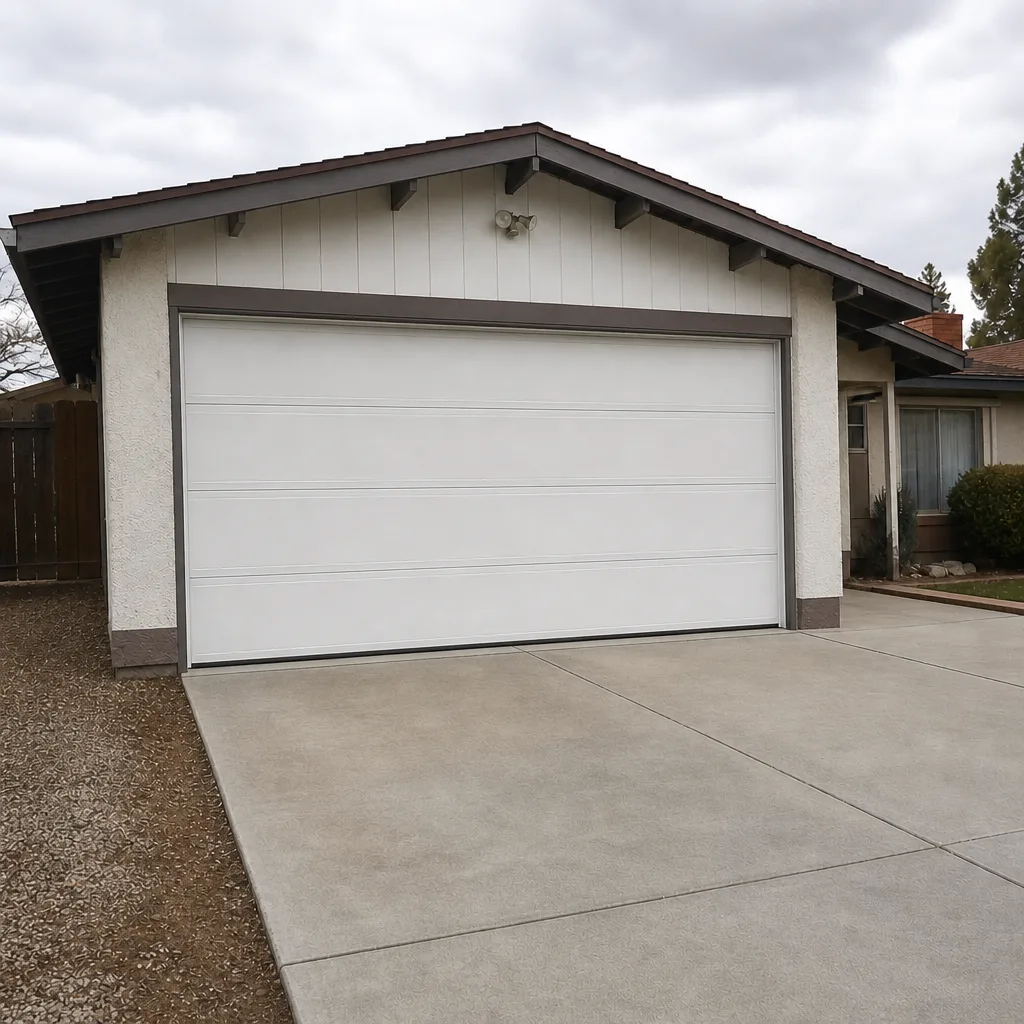 After
When to Call a Professional
Call a professional if any of these are happening: the door reverses on every close regardless of force settings, the torsion springs hum or snap, the door drifts visibly within a week of an install, the opener is groaning or the motor housing is hot to the touch, or the photo-eye won’t hold alignment no matter how you adjust it. Springs, cables, and torsion bars store lethal energy and shouldn’t be adjusted by anyone without professional training. Everything in this guide is about testing and documenting, not repairing springs. If your install is fresh, call the installer first. If you’re past the labor window, or you’re in Mesquite and want a second set of eyes, Fernbrook Garage Door Repair Mesquite offers free estimates in Mesquite – call (888) 255-7680. Our technicians have up to 24 years of experience and every visit includes a written price before any work begins, shoe covers and drop cloths inside the home, and a photo of the clean-up before we leave.
Frequently Asked Questions
Almost always a force sensitivity setting, a misaligned photo-eye, or an object in the sensor path. Force limits need calibration once the door is hung and cycled a few times, and a photo-eye can be nudged during the install itself. Both are installer adjustments covered by labor warranty. If you’re unsure whether it’s under warranty, call (888) 255-7680 for a free estimate on a service call.
Call the same day if the problem is safety-related (reversal failure, sensor fault, door not stopping), and within 48 hours for anything else. The first 48 hours is the cleanest window because the crew still has your install fresh in the file, and the problem is easiest to document as installation-caused rather than wear-related.
Adjustments are installation errors on a new door, so a proper labor warranty covers both. The adjustment of limits, force settings, spring tension, and sensor alignment is exactly what a labor warranty is for during the first season. Manufacturer warranties cover parts, not the labor to install or adjust them.
Probably not. Rhythmic clicking is usually a loose hinge screw, a roller seated wrong in the track, or a set screw on the torsion bar. Those are installer adjustments, not product defects, and the fix is typically quick. A total-panel or opener gear failure sounds different and would show up as a bang, a groan, or a dead stop.
Yes, in specific ways. Steel panels expand across a 40-degree day-night swing, and low-angle morning sun can blind an east-facing photo-eye. Both are normal on new installs and both have simple fixes (a sun shield on the sensor, a limit adjustment for any persistent drift). Neither is a warranty issue unless the drift stays past the first few days.
At minimum: how to disengage the opener manually, how to run the safety reversal test, how to align the photo-eyes, where the limit and force settings are, how to pair a new remote, and where the warranty documents are. If they haven’t demonstrated every one of those, ask before you sign. A competent installer will walk through it without complaint. For more on the full install process, see Garage Door Installation in Mesquite.
The Bottom Line
Most first-month garage door problems aren’t broken doors. They’re mis-adjusted doors, and adjustments are covered under a labor warranty you should already have in writing. Test the door in the first 48 hours, document any symptom with photos and timestamps, and call the installer before anyone else. If they’re competent, the fix is quick and free. If you’re past the labor window or you’d rather not diagnose it yourself, call a professional you trust. In Mesquite, Fernbrook Garage Door Repair Mesquite handles install adjustments, spring and opener repairs, and full door replacements with a written price before any work starts and a clean-up photo before we leave. Call (888) 255-7680 for a free estimate.
Written by the team at Fernbrook Garage Door Repair Mesquite.