
Last updated November 17, 2026
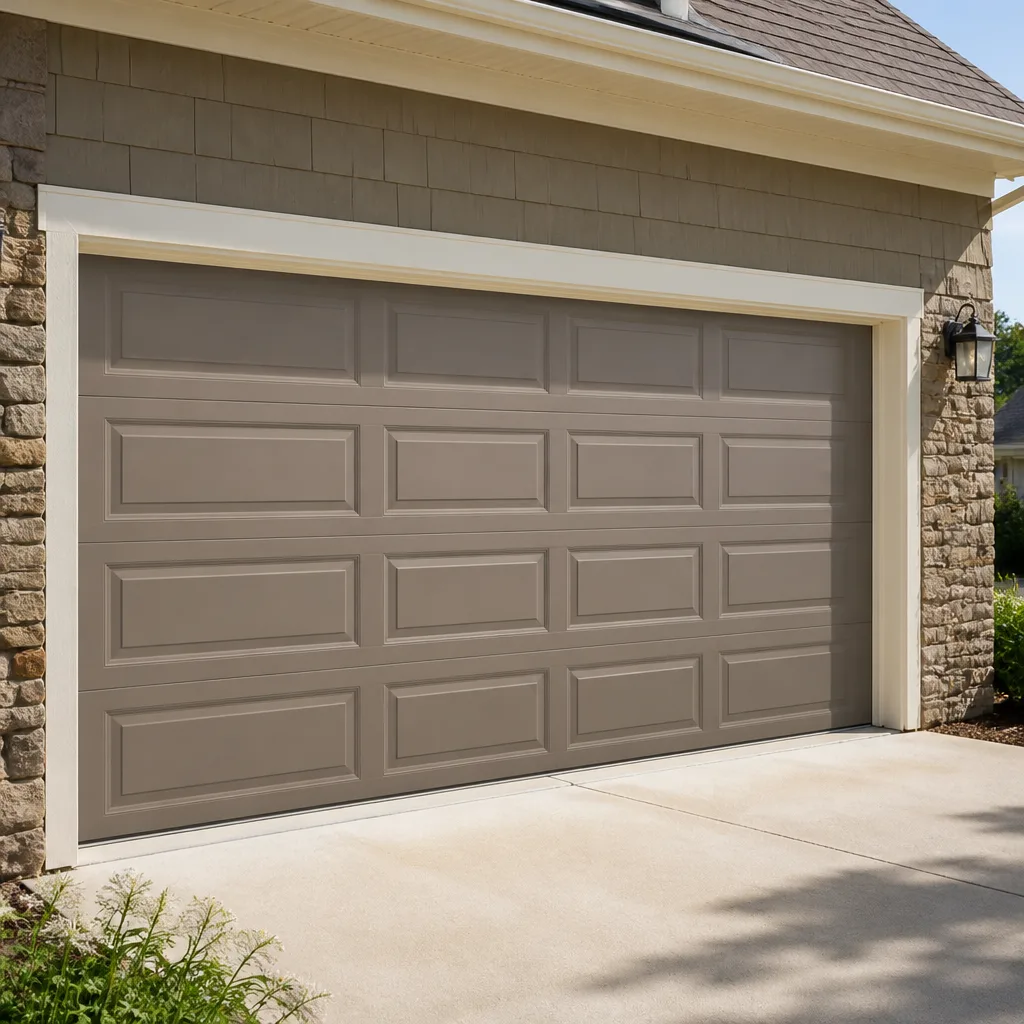 Raised-panel steel
 Carriage house
 Modern flush
 Full-view glass
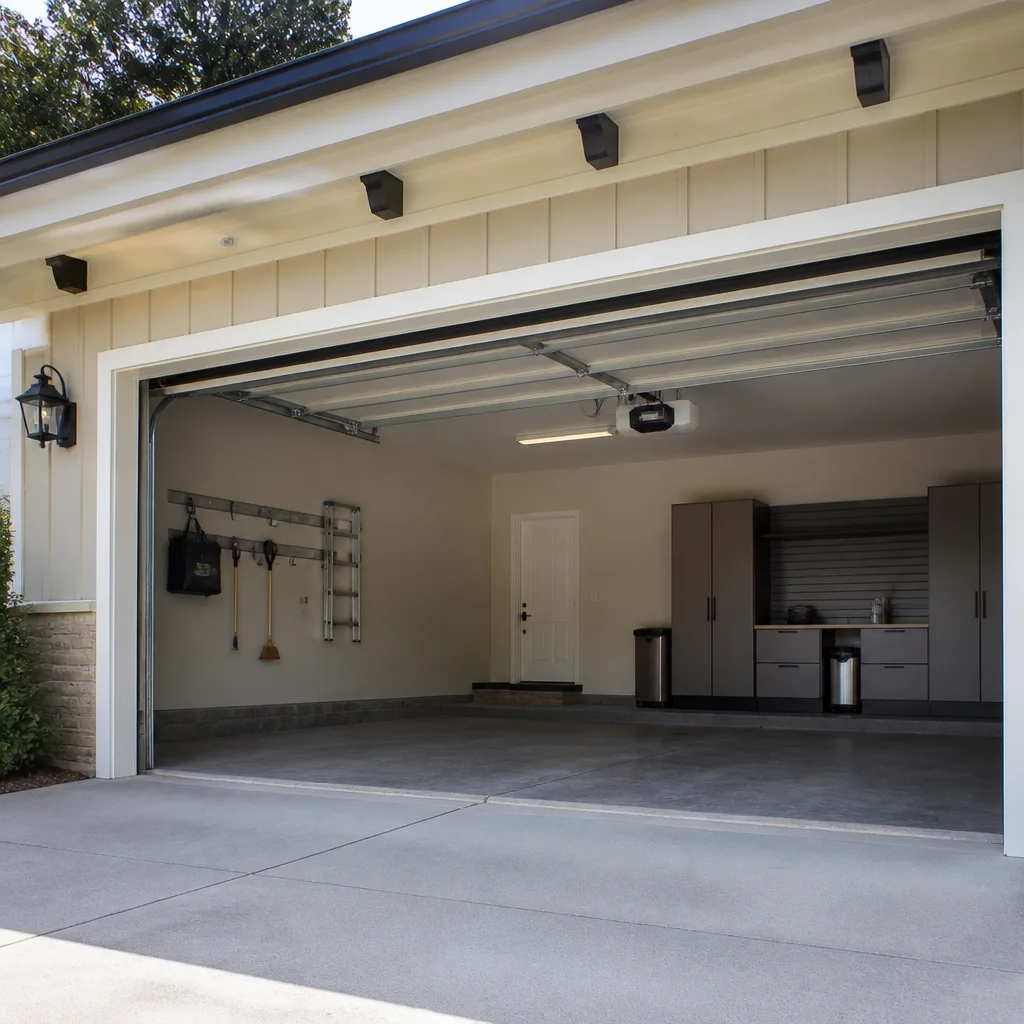 LiftMaster openers
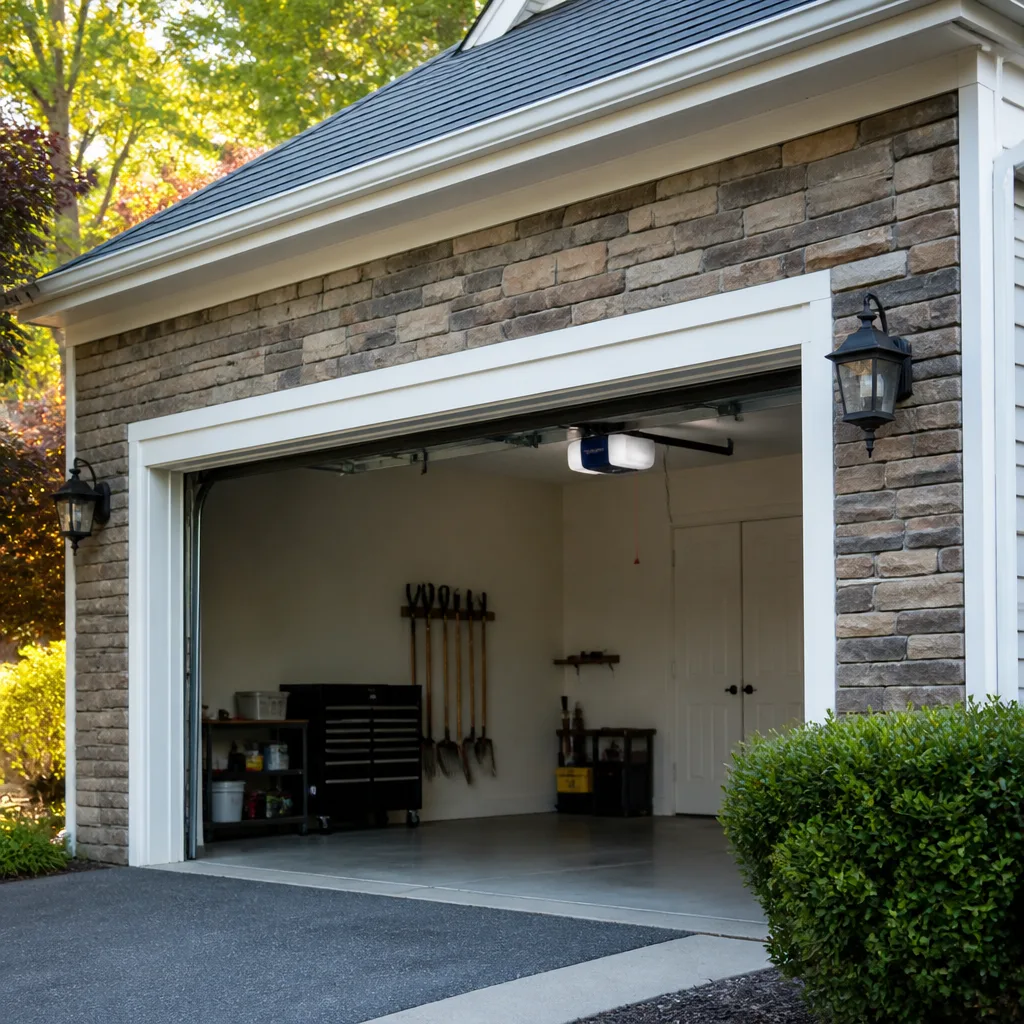 Chamberlain openers
Full 25-point door and opener safety check with every visit - springs, cables, rollers, tracks, and your LiftMaster or Chamberlain opener included
You get a price before we start. It does not change when the pro arrives.
Get your free estimateDIY vs Professional Garage Door Opener Repair: What’s Safe to Do Yourself
A homeowner who can rewire a ceiling fan has no real advantage when a garage door spring lets go. That’s a strange thing to hear from a garage door company, so let’s explain. The parts inside your opener and door aren’t harder than household wiring – they’re just governed by different physics, and the injuries they cause are specific and well documented. High-tension springs and cables store enough energy to break a bone or worse in a fraction of a second. The good news: a lot of what goes wrong with an opener is genuinely safe to handle yourself. This guide draws the line by component, not by confidence, so a family in Mesquite knows exactly what they can fix on a Saturday and what belongs to a trained technician.
Quick Answer
Remote reprogramming, battery swaps, and safety-eye alignment are safe DIY fixes for most homeowners. Anything involving springs, cables, or the torsion assembly is professional-only because of stored tension, and opener repairs sit in a middle zone where a logic board swap is fine but a limit-switch adjustment can quietly damage the door if you get it wrong. When a symptom is unclear, a quick phone description to a technician usually tells you whether a visit is even necessary.
Styles & brands we work with
- Raised-panel steel
- Carriage house
- Modern flush
- Full-view glass
- LiftMaster openers
- Chamberlain openers
Table of Contents
- The Component-by-Component Safety Table
- What’s Genuinely Safe to Do Yourself
- The Gray Zone: Limit Switches and Force Settings
- Tools You’d Need vs. the Cost of a Service Call
- How to Describe a Symptom Over the Phone
- What Voids a Warranty
- Common Mistakes to Avoid
- When to Call a Professional
The Component-by-Component Safety Table
The DIY question isn’t about how handy you are. It’s about which component you’re touching. Here’s how the parts break down, and the reason behind each rating.
- Remote and keypad reprogramming – Safe to DIY. No moving parts, no tension. Worst case is a remote that still doesn’t work and a five-minute call.
- Battery replacement (remote, keypad, wall unit) – Safe to DIY. The only risk is a ladder near a car, not the door system.
- Safety-eye alignment – Safe to DIY. The photo-eye sensors near the floor are low-voltage and the adjustment is a physical nudge or a lens wipe.
- Track bolt tightening – Safe to DIY (with a ladder helper). Loosening or tightening the bolts that hold the track section is a wrench job, as long as nothing is bent.
- Lubricating hinges, rollers, and springs – Safe to DIY. A pet-safe silicone or lithium spray on the hinges and spring surfaces is a real maintenance win.
- Limit-switch adjustment – Proceed with caution. This is the gray zone most guides skip. A limit switch tells the opener when to stop; set it wrong and the door slams or reverses in the wrong place.
- Force-sensitivity settings – Proceed with caution. Tuned too high, the door won’t reverse on an obstacle. That’s a safety issue, not a convenience one.
- Logic board replacement – Proceed with caution. Swapping the board is a plug-and-play job on many brands, but you must kill power first and match the board to the model number exactly.
- Torsion spring adjustment – Professional only. A wound torsion spring stores hundreds of pounds of force. Backing off an adjustment by a single turn can release it.
- Cable replacement – Professional only. Cables carry the spring tension and are under load at all times. This is the single most dangerous part of the door.
- Spring replacement – Professional only. Same physics, same risk. A torsion spring is the part that injures people who try this themselves.
- Panel and door replacement – Professional only. A door panel weighs between roughly 40 and 100 pounds depending on material; a falling panel is a crush hazard.
If you look at your own list of symptoms and most of them land in the “proceed with caution” or “professional only” rows, that’s your answer. For the parts we’re authorized to handle in Mesquite homes, our Garage Door Repair in Mesquite page covers the full scope.
What’s Genuinely Safe to Do Yourself
The safe-to-DIY list is real. We’ve walked into Mesquite homes where the “broken opener” was a dead remote battery and a misaligned safety eye, both fixed in under ten minutes. Here are the jobs you can do with confidence, plus the right order.
- Start with the safety-eye sensors. These are the two small lenses near the bottom of the tracks. Wipe them with a soft cloth, check that nothing is in the beam path (a stray ball near a kids’ toy bin is common in a busy garage), and nudge the bracket until the lens on the motor unit stops blinking.
- Replace the remote battery. Most remotes use a coin cell or a pair of AAAs. Match the size exactly; a slightly oversized cell can wedge the contact.
- Reprogram your remotes and keypad. On LiftMaster and Chamberlain units that means pressing the learn button on the motor head, then holding the remote button until the light flashes. Genie and Craftsman units vary slightly; check the sticker on the motor housing for the model number before you start.
- Lubricate the hinges and spring surfaces. Use a silicone or lithium-based spray. If you have a dog that sleeps in the garage or a toddler who gets into everything, choose a pet-safe product; we keep pet-safe lubricants on hand for this reason.
- Tighten loose track bolts. The bolts that hold the track sections together loosen with vibration over time. A socket wrench and a helper to hold the track straight is all it takes.
One piece of local context worth knowing: Mesquite’s dry desert air and the day-to-night temperature swing between summer afternoons and cool evenings work joints and fasteners more than they would in a humid climate. That means track bolts and hinge screws on a Mesquite door come loose a little sooner than the manufacturer’s manual suggests. A quick wrench check twice a year is cheap insurance.
The Gray Zone: Limit Switches and Force Settings
Here’s where most DIY guides go quiet. Limit switches and force settings aren’t dangerous the way a spring is, but they control how the door behaves when something goes wrong, and getting them wrong is a real risk.
The limit switch tells the opener when the door has reached the top (fully open) or the bottom (fully closed). If you set the close limit too high, the door never fully seats and you get a gap; set it too low and the motor strains against a door it can’t push. The force setting governs how much resistance the opener tolerates before reversing. Turn it up too high and a door that meets a child, a pet, or a bicycle tire won’t reverse. That’s a safety failure, not a convenience one.
If you’re going to touch these at all, do it with the door in sight, the car parked outside, and children and pets well clear. Test afterwards by laying a small piece of wood in the door’s path and confirming it reverses immediately. If it doesn’t, stop and call a technician. The adjustment is small enough to look trivial and important enough not to guess at.
We’d rather you kept the door working safely than risk a wrong adjustment. When in doubt, the pre-work written price we deliver on every Fernbrook visit includes a check of the limit and force settings at no extra cost.
Tools You’d Need vs. the Cost of a Service Call
Mid-tier opener repairs – a limit switch adjustment, a logic board swap, a track bolt that needs a socket wrench – technically need only a few tools. The honest comparison isn’t just the tool cost; it’s the tool cost plus the chance of getting it wrong on a part you may then need to replace.
Tools a homeowner would need:
- A socket wrench set (for track bolts and motor mount bolts)
- A stepladder rated for the working height of your door
- A multimeter (only if you’re tracing a power or low-voltage issue)
- A silicone or lithium lubricant (pet-safe if it’s going near kid or pet zones)
- A screwdriver set with Phillips and flathead bits (motor housing screws)
- A replacement logic board matched to your unit’s model number, if that’s the fix
The board alone on a mid-range LiftMaster or Craftmaster replacement can run from roughly $60 to $180 depending on the model. Add the tools if you don’t own them, and the math gets close to the cost of a service call on the same repair. That’s not a pitch; it’s the arithmetic. When you factor in the chance the wrong diagnosis means buying a second board, calling first usually saves money.
Compare that to what you’d spend on a technician visit: a written, upfront price quoted before any work starts, and the 365-Day Done Right Promise behind it. If the job is a track bolt and a lubricant check, the DIY route is cheaper and we’re glad you did it. If the diagnosis is uncertain, the service call often comes out ahead.
How to Describe a Symptom Over the Phone
This is the most under-discussed skill in home repair. A clear phone description often tells a technician whether a visit is necessary before they leave the shop – and saves you the cost of a call-out when the answer is “try the remote battery first.”
Here’s a simple protocol to follow.
- Name the symptom precisely. “The door opens fine but won’t close” is very different from “the door closes a foot and reverses.” Say what the door does, not just that it’s broken.
- Note what the motor does when it fails. Is there a click, a hum, nothing at all? Does the light on the motor blink in a pattern? A pattern of flashes often points to a specific fault code.
- Give the model number. It’s on a sticker on the motor housing. If we know whether your unit is a LiftMaster, Chamberlain, Genie, or Craftsman, we can tell you the specific fix before the visit.
- Say what changed recently. Power outage? A new wall switch? A remote that stopped working after you changed the battery? Timing narrows the diagnosis.
- Describe the door’s balance. Does it feel heavy when you lift it manually? A door that feels heavy points to spring or cable trouble, which is a professional repair – and the answer is not to keep cycling it.
When you call us, a live person answers, 24 hours a day. If you’re in Mesquite, we can often tell you on the phone whether the fix is something you can do this afternoon or whether we need to schedule a visit. That’s the free estimate doing what it should: answering the question, not pushing the sale.
What Voids a Warranty
A warranty is a piece of paper until something breaks, and then it’s the difference between a free fix and an out-of-pocket repair. The language that matters is the phrase “tampering” or “unauthorized repair.” Most opener manufacturers – LiftMaster, Chamberlain, Genie, Craftsman included – write their warranties to exclude damage caused by “modifications” or “repairs performed by unqualified persons.”
What that means in practice:
- Springs, cables, and torsion assembly: If a homeowner winds a torsion spring and it snaps a cable, the manufacturer may treat the failure as outside its warranty. Don’t touch these and you don’t have the argument.
- Logic boards: If the board is a genuine replacement part from the manufacturer and installed correctly, warranty usually stands. If it’s a knock-off or the board was shorted during install, it’s a coin toss. Match the model number exactly and don’t buy from a bin.
- Force and limit settings: These typically don’t void the warranty by themselves, but if a wrong setting causes a failure later, the story becomes “was the unit mis-adjusted?” That’s a hard conversation to win.
- Doors from Clopay, Amarr, or Wayne Dalton: Panel replacement and spring replacement are warranty-sensitive; a door that’s been touched by anyone outside the manufacturer’s network may need independent inspection before a warranty claim is honored.
The safest rule: if it’s on the professional-only list, keep it off your own hands. If it isn’t, follow the manual and keep a note of what you did and when. When you do call, the Fernbrook 365-Day Done Right Promise covers our work for a full year – if we don’t fix it right, we make it right, no negotiation needed. If a part fails inside our coverage window, we handle it. For installed doors and opener replacements we handle as a scheduled job, see our Garage Door Installation in Mesquite page.
Common Mistakes to Avoid
- Standing under the door to test it. Never stand in the door’s path to watch it cycle. A door that reverses unexpectedly is a head injury waiting to happen. Watch from the side, always.
- Adjusting the force setting to fix a heavy door. If the door feels heavy, the problem is the spring – not the opener. Cranking up the force setting hides a spring problem behind a motor problem and turns a $180 repair into a $600 one. In the Mesquite heat, we see a lot of doors that felt fine in spring and drag by July; that’s a spring, not a force setting.
- Buying a logic board without the model number. A board from a similarly named unit often fails within days. The model number is on the motor housing sticker; take a photo of it before you order.
- Replacing the opener when the door is the problem. A new opener on a heavy, unbalanced door won’t last a season. If the door is heavy by hand, get that diagnosed first.
- Ignoring a pet or child near a moving door. The safety eye is there for a reason; test it monthly by placing an object in the path and confirming the door reverses.
- Leaving the safety eye misaligned after a “fix.” A blinking sensor is the door telling you it can’t see; taping over it or zip-tying it out of the way disables a real safety system.
- Skipping the ladder helper. Standing on a stepladder while reaching across the door to hold a track is a fall waiting to happen. Get a helper, or leave the track to us.
When to Call a Professional
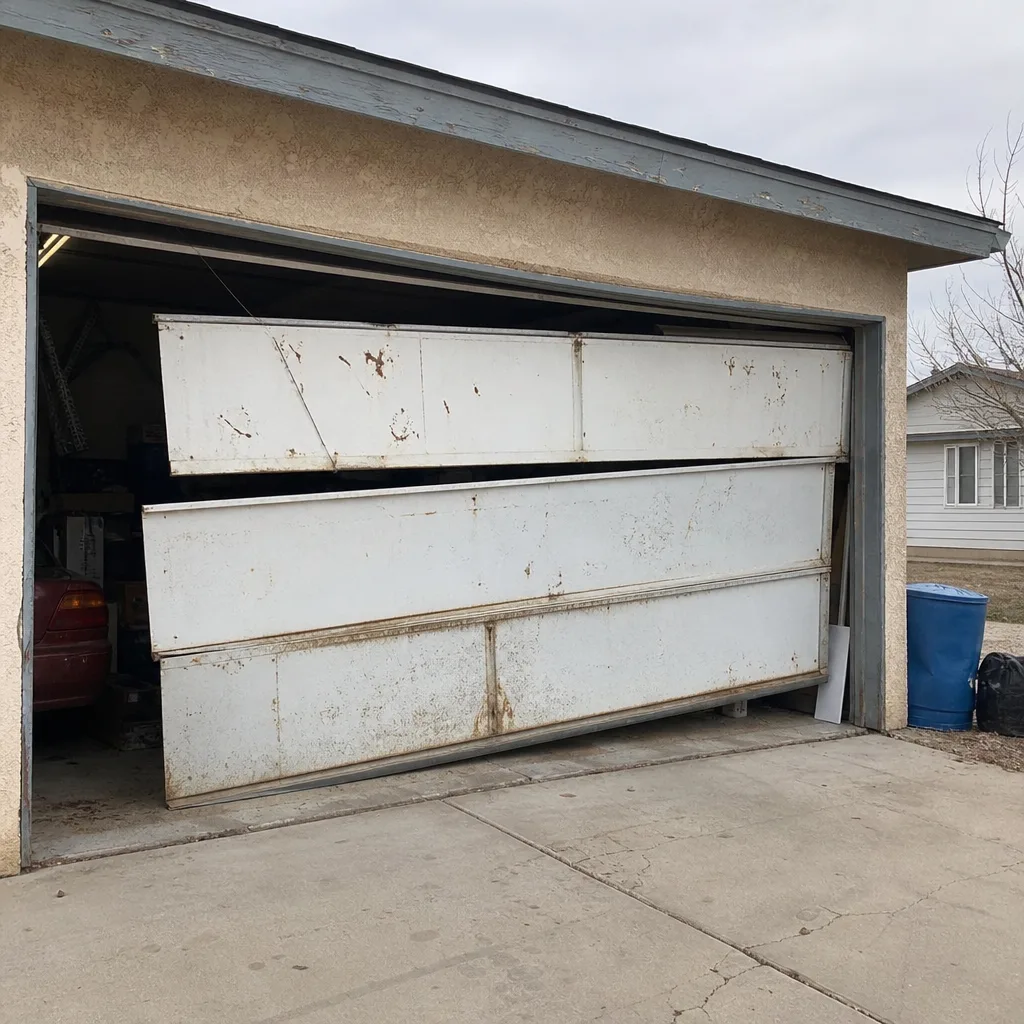
Call a professional immediately when: the door feels heavy when lifted by hand; the door is crooked or a cable looks slack; there’s a gap between sections; a spring is visibly broken or has come apart; the opener hums but doesn’t move; the door reverses for no apparent reason; or the door is over 20 years old and parts are hard to source. In each case, the safest next step is a professional diagnosis, not another cycle of the door. Fernbrook Garage Door Repair Mesquite offers free estimates in Mesquite – call (888) 255-7680. A live person answers 24 hours a day, and we’ll give you a written price before any work starts. If the answer is “this is DIY,” we’ll tell you that too.
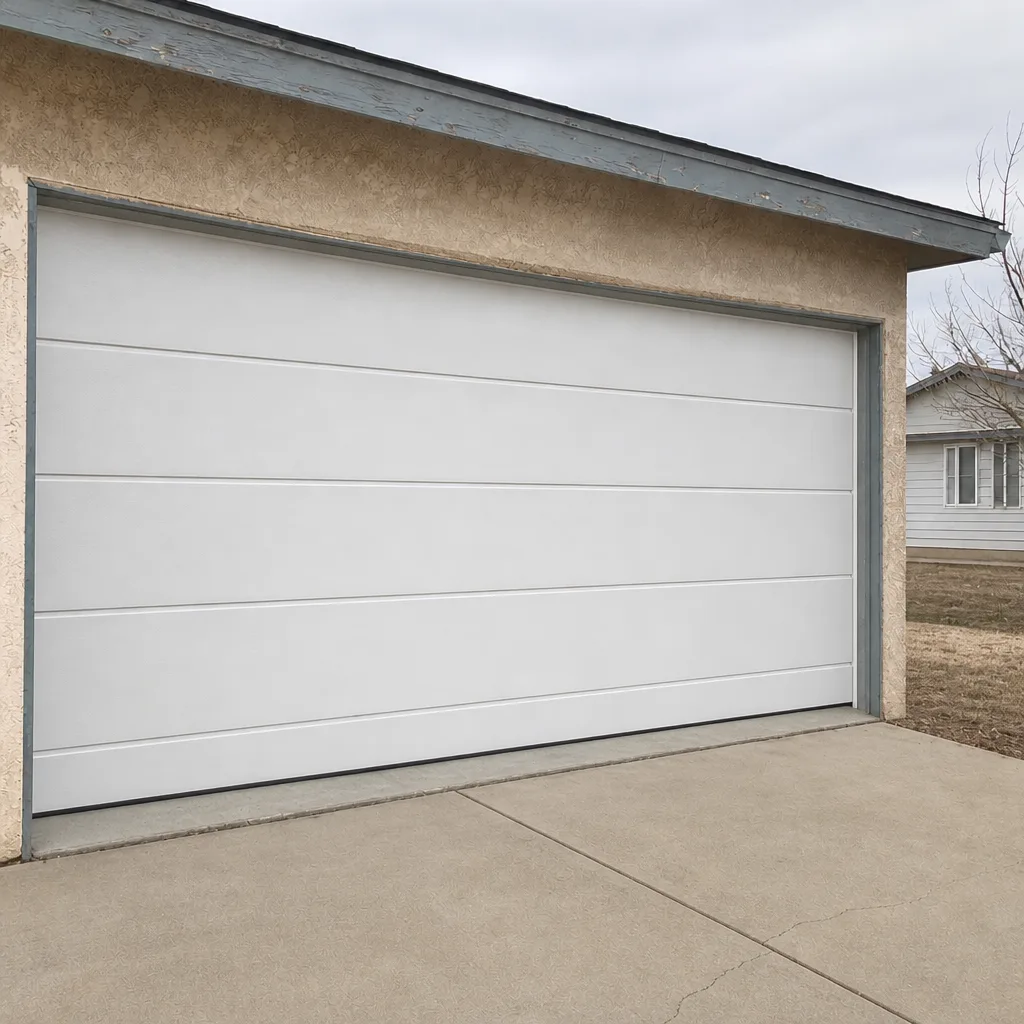
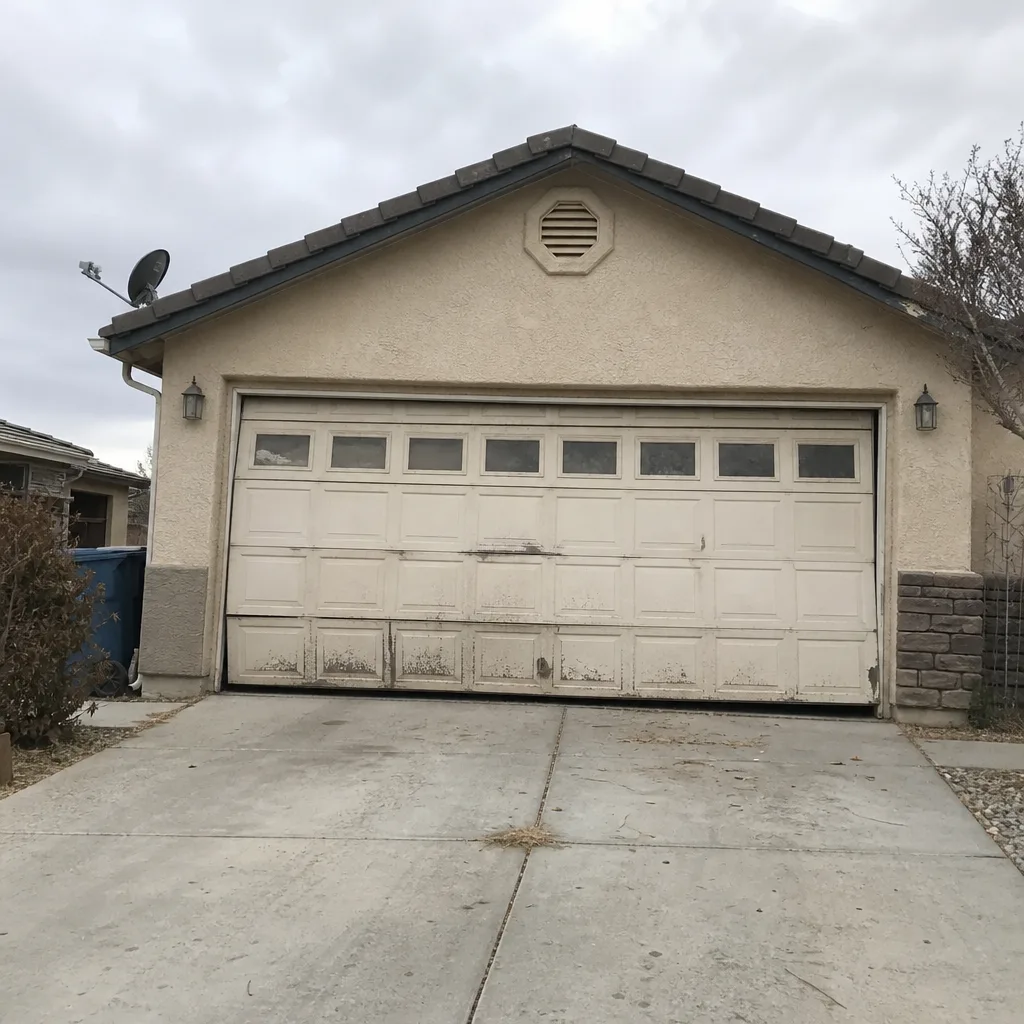
See the difference
 Before
 After
 Before
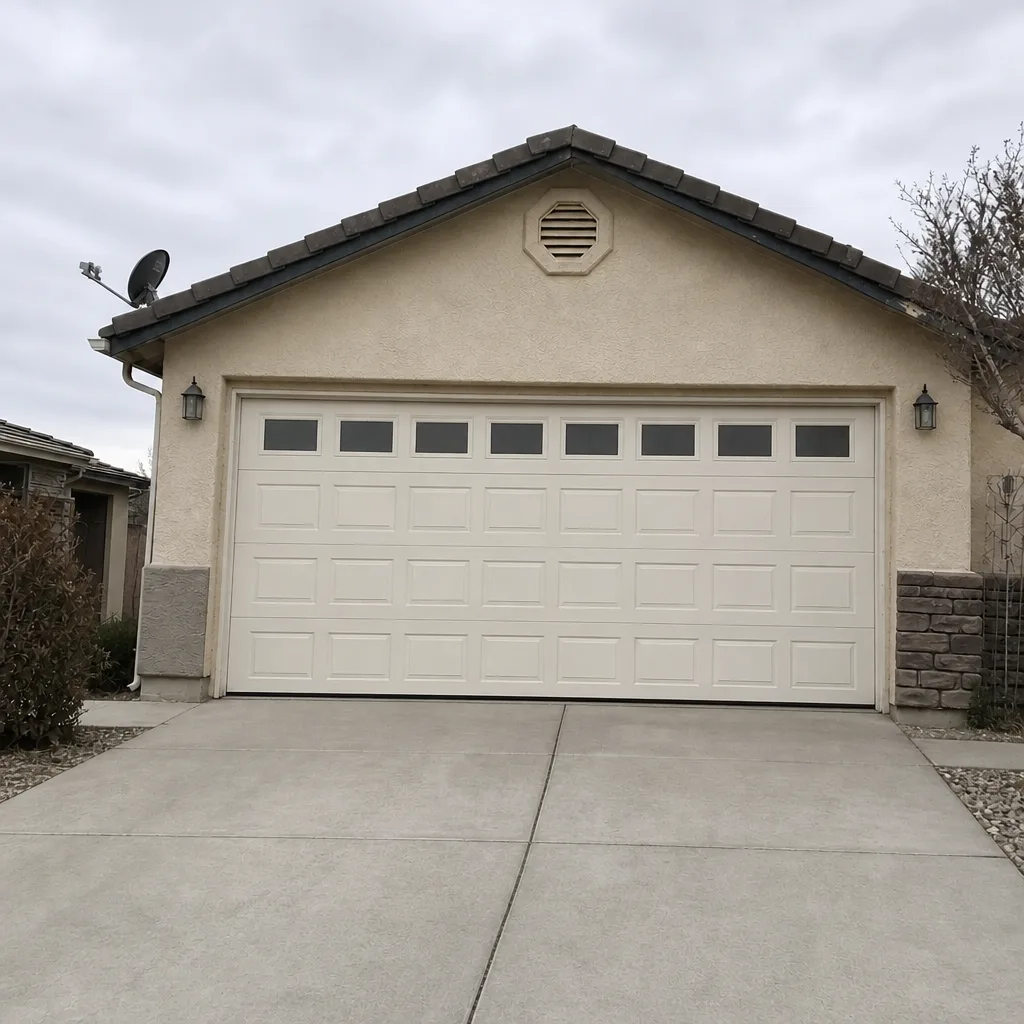 After
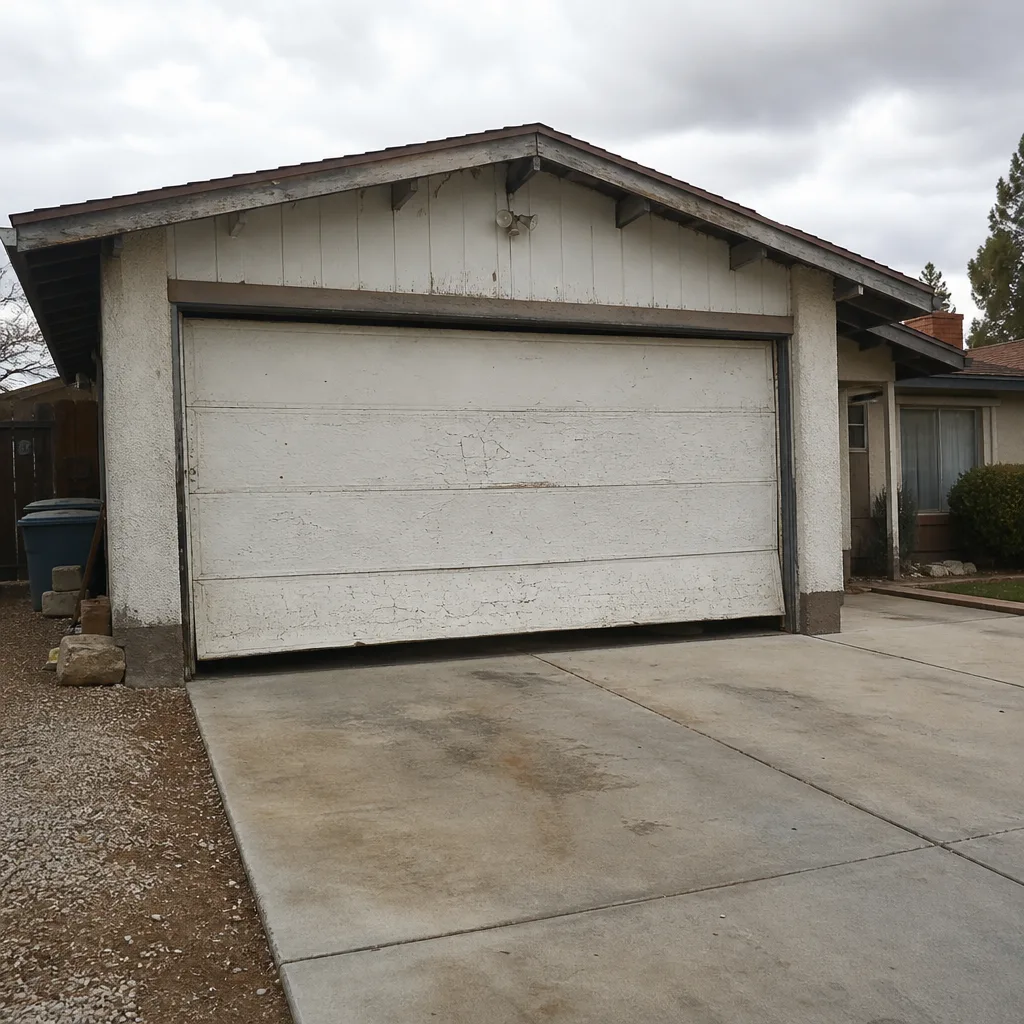 Before
 After
Frequently Asked Questions
It’s safe for a specific set of components: remote and keypad programming, battery swaps, safety-eye alignment, lubricating hinges, and tightening track bolts. It’s not safe for anything touching the springs, cables, or torsion assembly, and the limit and force settings need caution because a wrong setting can stop the door reversing on a child or pet. When the symptom isn’t clear, a phone description usually tells you whether a visit is necessary – call (888) 255-7680 for a free estimate.
Most opener repairs in Mesquite run from roughly $120 to $320 depending on the part and whether the opener needs a board or a motor replacement. A simple limit-switch adjustment or safety-eye fix sits at the low end; a logic board swap sits in the middle; a full opener replacement is a separate, larger job. The price is written and agreed before any work starts. Call (888) 255-7680 for an exact quote – estimates are free.
No. A torsion spring stores hundreds of pounds of force even when the door is closed, and loosening or tightening it by hand or with a winding bar is the single biggest injury risk in garage door work. This is professional-only, on the Mesquite doors we see and every other door we’ve handled. If you see a broken spring or hear a loud bang followed by a door that won’t lift, stop using the door and call (888) 255-7680. Our Garage Door Spring Repair in Mesquite page explains the fix.
No. We deliver a written price before any work starts on every visit, and the number on that sheet is the number on your invoice. If the diagnosis turns up something larger, you’ll see a new written price before anything proceeds. The 365-Day Done Right Promise backs the work. Call (888) 255-7680 for a free estimate.
Scheduled jobs are handled by trained technicians who are background-checked, uniformed, and covered by the business’s insurance and bonding. They follow the Cedarwell Care Promise: shoe covers and drop cloths inside the home, quiet tools during quiet hours, a written price before work, and a photo of the clean-up before they leave. Call (888) 255-7680 to schedule.
For repair and emergency calls in Mesquite, same-day service is often available – call early in the day for the best chance. A live person answers 24 hours a day, seven days a week, and can tell you what’s open on the schedule. For installation or opener replacement, those jobs are measured, ordered, and scheduled, so a free measure and a written price comes first. Call (888) 255-7680 to check availability.
The Bottom Line
The DIY-vs-pro question is really a component question. Remote programming, battery swaps, safety-eye alignment, lubricant, and track bolt tightening are all sensible Saturday jobs, and we’d rather you did them yourself than pay for a visit. Limit switches and force settings need caution and a firm test. Springs, cables, and torsion assembly belong to a trained technician, every time, because the physics and the injury statistics are specific. When you’re unsure, describe the symptom on the phone before you touch it. In Mesquite, our free estimate is a genuine diagnostic conversation, and the written price before work starts means there’s never a surprise invoice. Call (888) 255-7680 for a free estimate. Start at the Fernbrook Garage Door Repair Mesquite home page if you’re new to us.
Written by the team at Fernbrook Garage Door Repair Mesquite.