
Last updated November 17, 2026
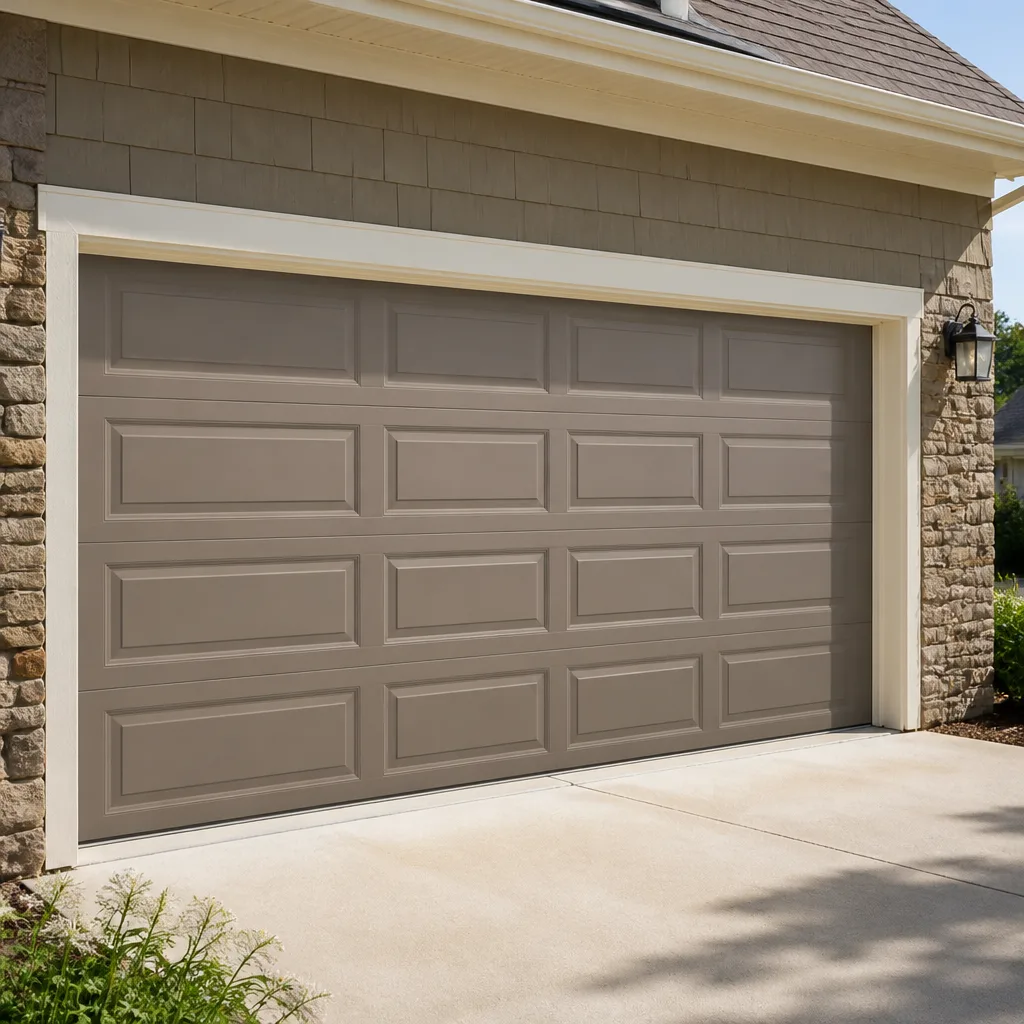 Raised-panel steel
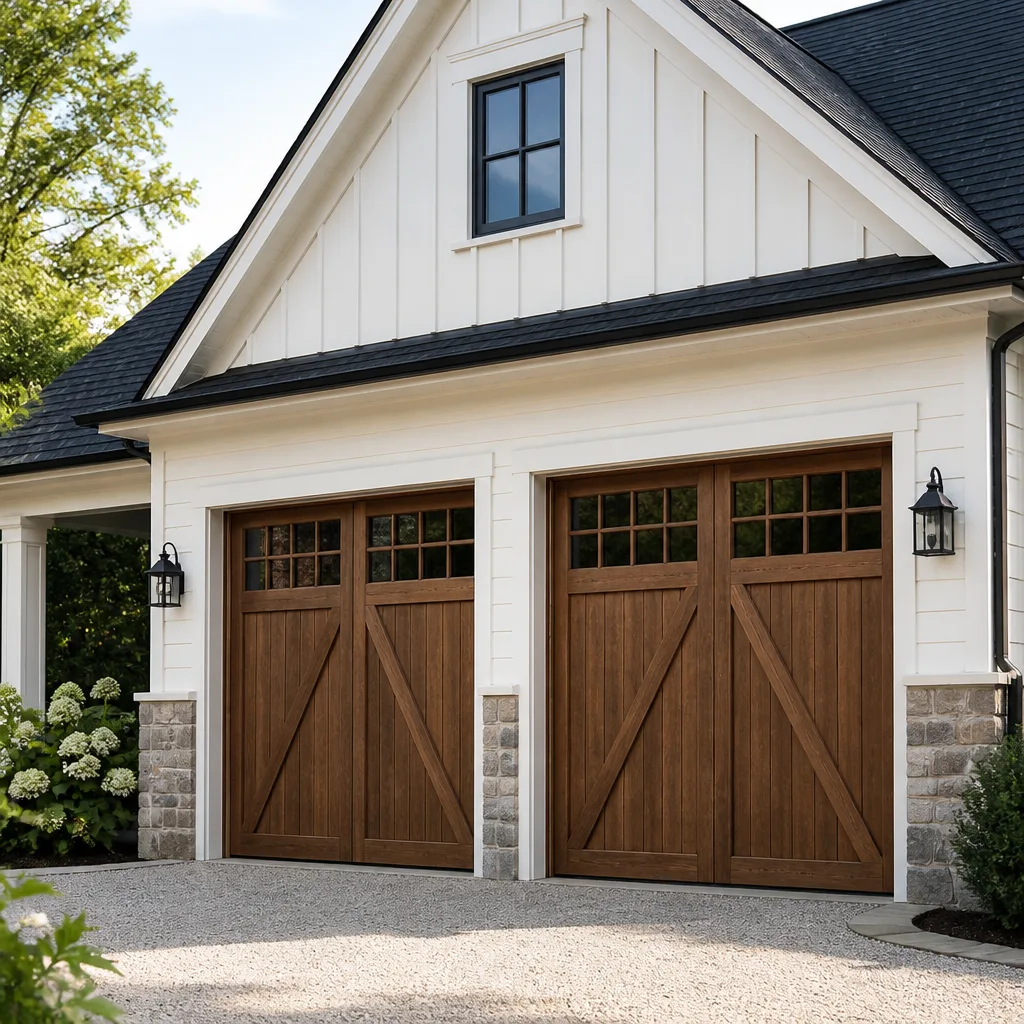 Carriage house
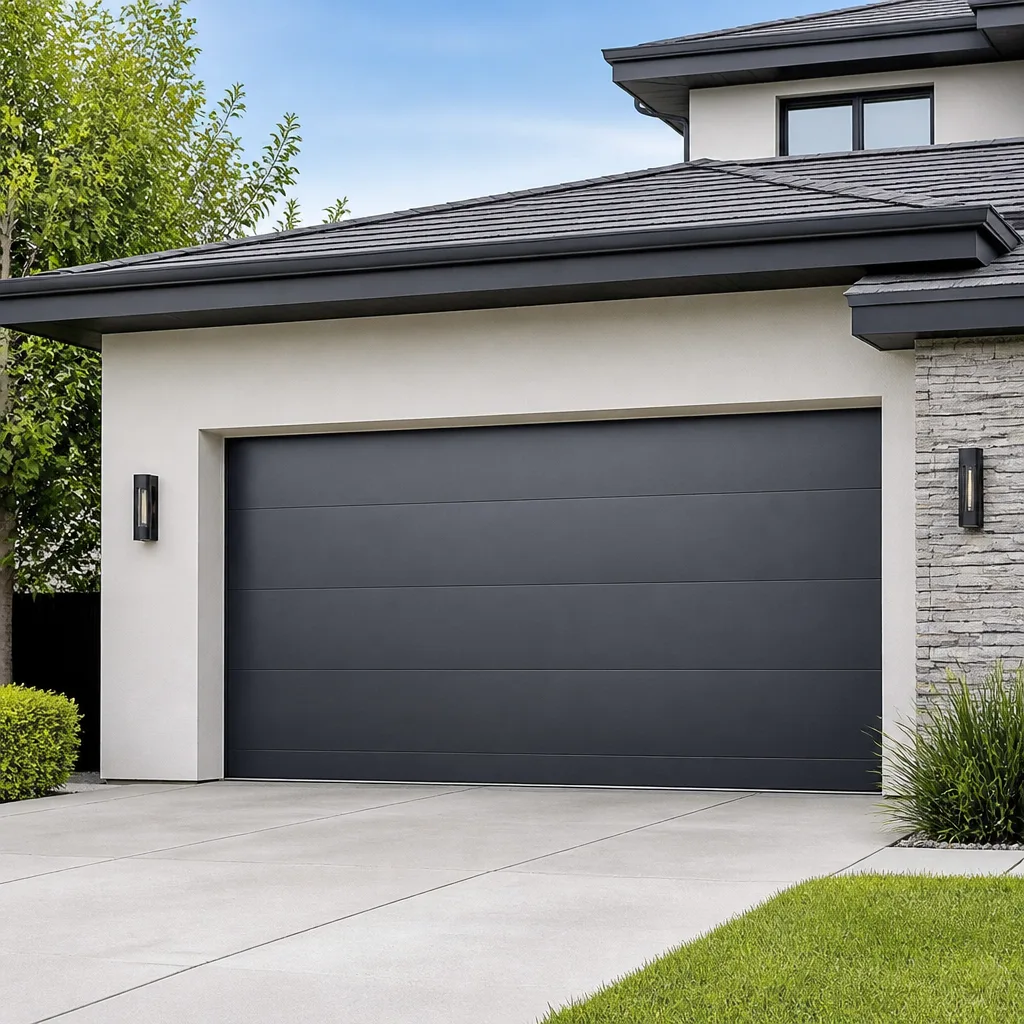 Modern flush
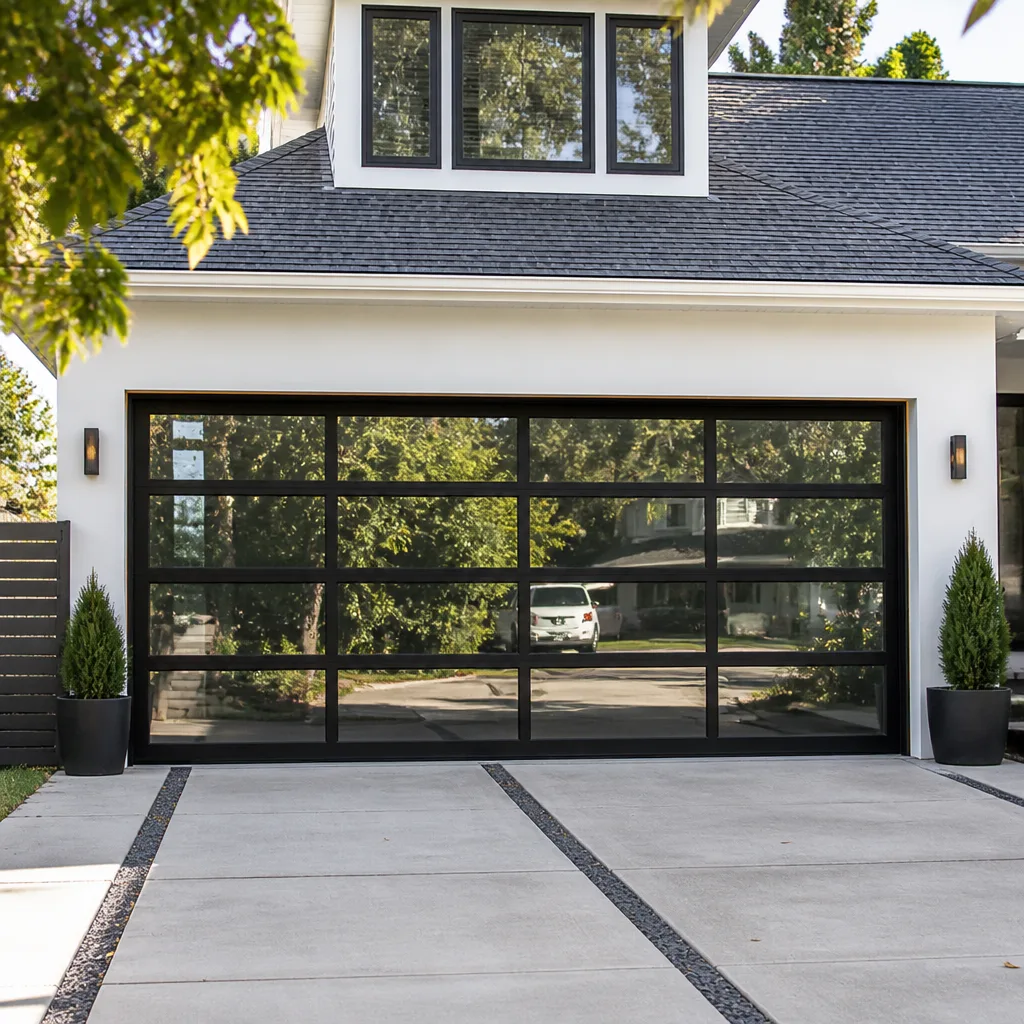 Full-view glass
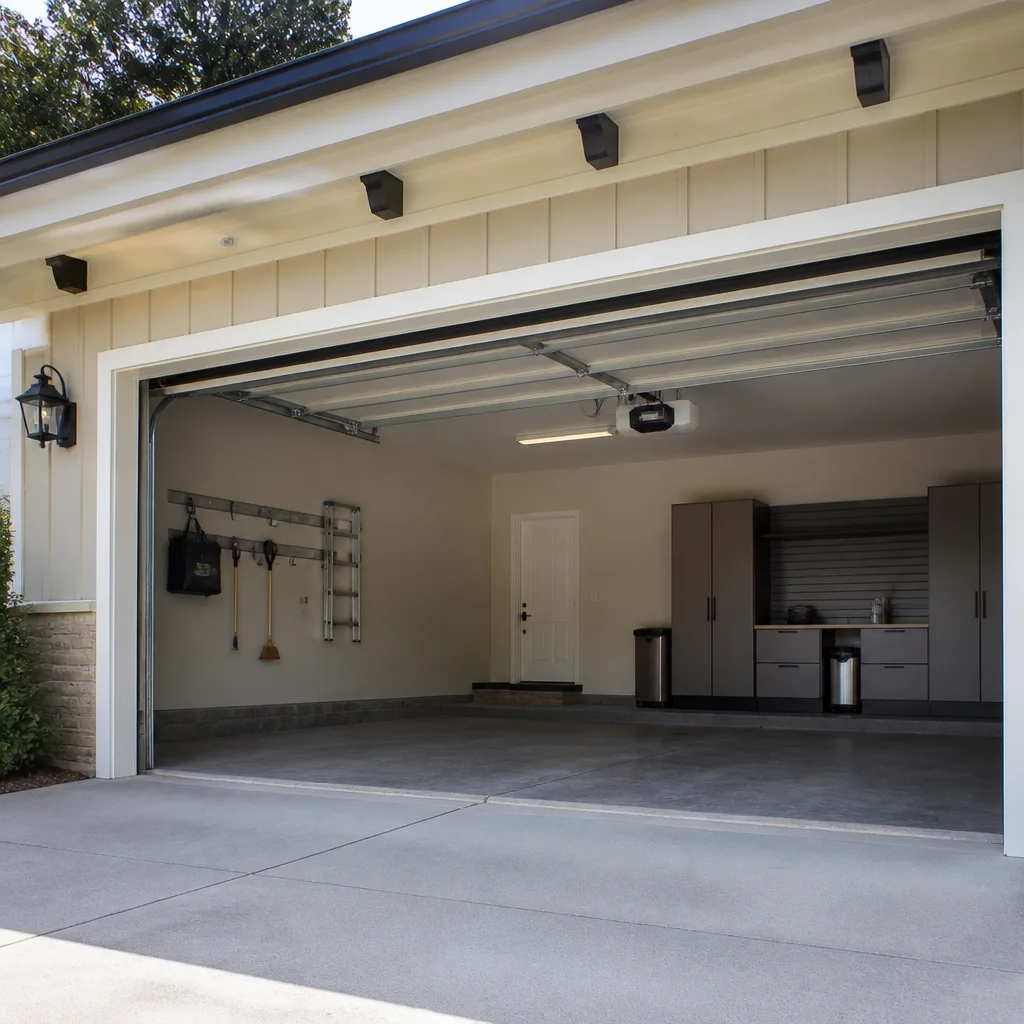 LiftMaster openers
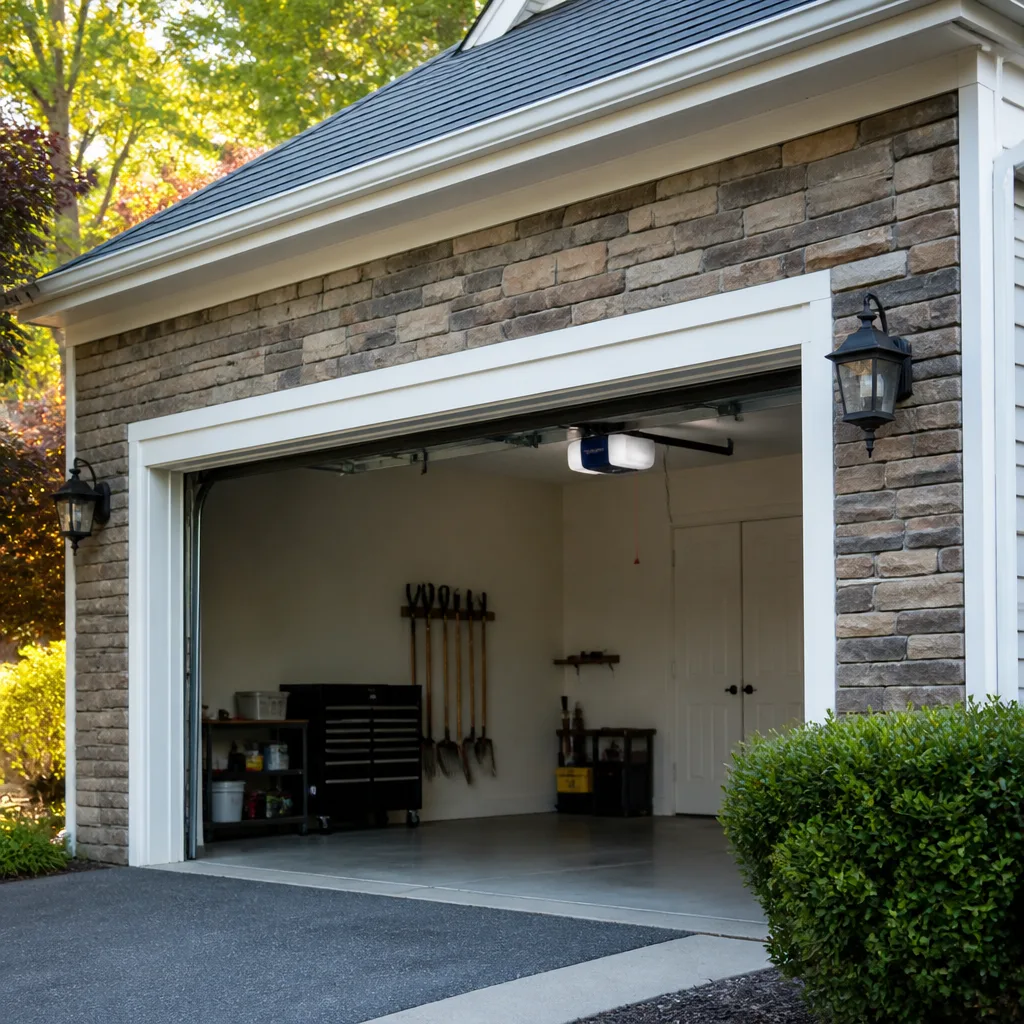 Chamberlain openers
Full 25-point door and opener safety check with every visit - springs, cables, rollers, tracks, and your LiftMaster or Chamberlain opener included
You get a price before we start. It does not change when the pro arrives.
Get your free estimateHow Long Does Garage Door Installation Take? Timelines and What to Expect
A standard garage door installation is quoted at 4 to 6 hours by most companies, yet homeowners routinely tell us the day stretched to 8 or more. Nothing went wrong. The problem is that “standard” quietly assumes a square opening, sound framing, code-compliant wiring, and a door that matches the rough opening exactly. On a 1990s Mesquite build with a header that’s seen twenty summers of desert heat, none of that is guaranteed. In this guide we walk through each phase of an install with honest time ranges, explain the specific conditions that add hours, and show you how to tell a crew that’s making progress from one that’s stalling. By the end you’ll know how to read a written completion estimate and why that document matters more than the door brand.
Quick Answer
A garage door installation in Mesquite typically takes 4 to 6 hours for a single-car door and 6 to 8 hours for a double-car door on a prepared opening. If the old door must be removed, the framing is out of square, or the opener wiring needs updating to current code, plan on 8 to 10 hours or a second visit. A written, itemized completion estimate given before work begins is the single best way to predict your actual day.
Styles & brands we work with
- Raised-panel steel
- Carriage house
- Modern flush
- Full-view glass
- LiftMaster openers
- Chamberlain openers
Table of Contents
- The Six Phases of a Garage Door Installation, With Time Ranges
- What Adds Time (and What Usually Doesn’t)
- Mesquite-Specific Conditions That Change Your Timeline
- How to Read the Crew: Progress vs. Stalling
- What a Written Completion Estimate Looks Like vs. a Verbal One
- The Final Walk-Through: What a Thorough Technician Checks
- How to Prepare Your Home the Morning of the Install
- A Safety Note About Springs and Torsion Hardware
The Six Phases of a Garage Door Installation, With Time Ranges
Every install follows the same six phases. Knowing them lets you glance at the crew from the kitchen window and understand what stage you’re in. These ranges are what we see on typical residential jobs in Mesquite.
- Removal of the old door and hardware (45 to 90 minutes). Panels come down first, then tracks, then the torsion assembly. On a door that’s been rusted or heat-warped, seized bolts and stripped lag screws add 20 to 30 minutes.
- Setting the tracks and leveling the opening (45 to 75 minutes). Vertical and horizontal tracks are set plumb and level. This is where an out-of-square opening reveals itself. A couple of degrees of lean in the framing can mean shimming, re-anchoring, or a call to a carpenter.
- Hanging the panels (60 to 90 minutes). Panels are stacked and hinged, then rollers are seated in the tracks. A two-car door carries roughly double the panel count and takes about twice as long.
- Tensioning the springs and balancing the door (45 to 60 minutes). Torsion or extension springs are wound to the door’s weight, and the door is balanced so it stays put at the half-open position. This is the phase most likely to run long, because balance is a feel-and-adjust process, not a one-shot task.
- Opener wiring and programming (45 to 90 minutes). If you’re keeping your existing opener, the crew reconnects it. If you’re upgrading, wiring runs to the wall button and safety sensors, then remotes and keypads are programmed. Older homes sometimes have wiring that doesn’t meet current code and needs replacement.
- Final adjustment and clean-up (30 to 45 minutes). Travel limits, force settings, and safety-reverse testing. Then the crew sweeps the driveway, wipes the tracks, and on a Fernbrook visit takes a photo of the clean-up before leaving.
Add those up and you get the 4 to 6 hour figure for a single-car door, 6 to 8 for a double. Notice that the door panel itself is only about a quarter of the day. The rest is tracks, springs, wiring, and testing. That’s why a beautiful Clopay or Amarr door on a bad opening still takes a full day.
What Adds Time (and What Usually Doesn’t)
Our view after thousands of installs: the variable isn’t the door. It’s what the crew finds after the old door comes down. Here’s what reliably adds hours and what rarely does.
Conditions that add 1 to 3 hours
- An out-of-square rough opening. If the opening is more than about half an inch out of square over the height, tracks won’t sit plumb and the door will bind on one side. Shimming and re-anchoring add time, and occasionally the framing itself needs adjustment.
- A rotted or cracked header board. The header carries the torsion spring load, so a compromised board means the crew stops, shows you the damage, and replaces it before proceeding. This is a case where the install pauses for a repair, not the other way around.
- Wiring that doesn’t meet current code. Older Mesquite homes sometimes have opener wiring without proper grounding or with a splice that a safety sensor circuit won’t tolerate. Replacing it adds 30 to 60 minutes.
- Non-standard rough opening sizes. Doors come in standard widths. If the opening is off, panels need custom sizing or the opening needs a trim-out, which can turn a one-day job into a two-visit job.
- Old, rusted, or heat-glazed hardware. Seized springs and bolts come out slowly, and sometimes need to be cut.
Conditions that rarely add time
- The door panel material (steel, insulated steel, and aluminum all install at roughly the same pace).
- Whether the door has windows. Glass inserts add maybe 15 minutes, not an hour.
- Color and finish. Factory finishes don’t affect install time.
- Openers with more features. Programming extra remotes is quick.
If a company gives you a 4-hour quote without walking your opening, they’re quoting a door and a hope. Ask what they charge if the framing needs work.
Mesquite-Specific Conditions That Change Your Timeline
Mesquite’s climate creates a specific set of install-day realities that generic online timelines miss. In our experience across the valley, here’s what actually comes up.
Heat and sun on the south- and west-facing walls. Garage doors in Mesquite face intense summer sun. Wood framing on garages that back up to a sun-exposed wall dries and warps, and header boards along that wall are more likely to be cracked or checked. We’ve seen header boards on Mesquite homes that looked fine from the driveway but showed visible checking once the old door came down. That discovery adds time because the header must be replaced before the springs can be anchored.
Dust and sand under the tracks. Fine desert dust accumulates in the track channels and around the concrete opening. Crews spend 10 to 20 extra minutes cleaning and blowing out the channels before setting new tracks, because a single grain of sand under a bottom bracket can throw the leveling off.
Older construction in established neighborhoods. In neighborhoods like Bunkerville Road and the older tracts west of Mesquite Boulevard, garages were often framed to a different standard than current builds. Rough openings are more likely to be a half inch off, wiring may date to the original build, and the concrete slab sills sometimes have settled. Each one is a small delay, and together they can push a job past the 8-hour mark.
Newer subdivisions and HOA rules. In newer parts of Mesquite, HOA rules sometimes require specific door colors, finishes, or window configurations. Confirming compliance before install day prevents a return visit to swap panels.
Wind and dust gates. Spring and early summer wind events can idle a crew if they’re trying to run wiring outside or set a door in a crosswind. It’s not a daily occurrence, but it happens.
How to Read the Crew: Progress vs. Stalling
You shouldn’t have to hover. But knowing the rhythm of the job gives you a way to check in once or twice without feeling intrusive. Here’s what a working crew looks like at each phase.
- During removal: Panels come down in a controlled sequence, hardware is set aside in a pile or bucket, and no one is standing around waiting for a tool. If the same two people are working and the third is on a phone for more than a few minutes, that’s a conversation.
- During track setting: Someone is on a ladder with a level, and you’ll hear ratcheting. Checks happen at both vertical tracks, not just one.
- During panel hanging: Panels go up one after another and hinges go on immediately. If a single panel is up and there’s a 20-minute lull, something is being figured out. Ask.
- During spring and balance: The door is being run up and down half a dozen times, and the technician is standing at the side, not directly under the spring. Balance testing takes patience.
- During wiring and programming: You’ll see wall-button tests and remotes being cycled. Sensors are tested by waving a hand in front of them, not just glancing at a light.
- During clean-up: Sweeping, wiping, and a walk-through with you. This is a phase, not an afterthought.
Two things to watch for as stalling signals: a crew that leaves the driveway to buy parts mid-job without explaining why, and a crew that never runs the door through a full open-and-close cycle during the install. Both mean the day isn’t going to end on time.
What a Written Completion Estimate Looks Like vs. a Verbal One
A verbal estimate is a sentence. A written completion estimate is a document. If you have afternoon plans, the difference is the difference between a predictable day and a day that eats your evening.
What a written completion estimate should include
- Removal and disposal, stated as a line item or explicitly included.
- Door model, size, material, and color, so there’s no swap at the time of delivery.
- Spring type and specifications, including cycle rating if the brand publishes one.
- Track and hardware replacement, or a note that existing parts will be reused.
- Opener work, whether it’s reconnect-only or a full replacement, with the wiring scope.
- What’s excluded: framing repair, header replacement, electrical work beyond the opener, and painting are the common exclusions. The document should say so.
- The conditions that would change the price and how those changes are approved before work continues.
- An estimated completion window, meaning “door fully functional by X,” not “crew on-site by Y.”
Our standard practice on any Mesquite installation is to deliver a written price before any work begins. If a crew discovers a rotted header or out-of-square framing, they stop, show you, and get approval before continuing. That’s the whole point of a written estimate: it turns a discovery into a decision you get to make.
A verbal estimate often sounds more attractive because it’s shorter. But if the number isn’t in writing, you have no protection against a mid-day surprise. Families with kids and pets on a schedule need the document.
The Final Walk-Through: What a Thorough Technician Checks
The walk-through is the part of the install most likely to be skipped, and it’s also the most common cause of callback visits. A thorough technician doesn’t hand over the invoice until all of the following have been tested in front of you.
- Balance test. The door is opened halfway, then released. It should stay put, not drift down or creep up. If it drifts, the springs aren’t balanced and the opener is working overtime.
- Safety-reverse test. An object (a 2×4 laid flat is standard) is placed under the closing door, and the door must reverse on contact. Then the photo-eye sensors are blocked, and the door must refuse to close.
- Full travel test. The door is cycled fully open and fully closed three times, and the technician listens for grinding, popping, or binding at any point in the travel.
- Weather seal check. The bottom seal should make full contact with the slab across the entire width. Mesquite’s dust comes in under a poorly sealed door within days.
- Lubrication of hinges, rollers, and springs with a product that’s safe around pets and kids.
- Opener force settings confirmed within manufacturer specification, and remote programming confirmed.
- Clean-up. Driveway swept, tracks wiped, interior floor swept or vacuumed. On a Fernbrook visit, a photo of the clean-up is taken before the technician leaves.
If the technician skips any of these, ask. A missed balance test or a skipped safety-reverse check is the most common reason a family calls a company back within the first week. The 365-Day Done Right Promise exists so that if something surfaces after the install, it gets corrected without negotiation. But the walk-through is where most of those issues get caught in the first place.
How to Prepare Your Home the Morning of the Install
A little prep makes the day smoother and protects the things inside your home. None of it takes long.
- Clear the garage floor of bikes, strollers, and stored boxes. The crew needs space to stack old panels and set the new ones down without leaning them against anything that could scratch.
- Move or secure pets. Spring tensioning is loud and there’s door travel through the whole job. A quiet back room or a crate in a bedroom is better than a garage-side laundry. Our technicians use pet-safe products where there’s a choice, but the noise is unavoidable.
- Note the kids’ nap and school hours and tell the crew at arrival. We’ll ask before we make any noise-causing decision, and we’ll sequence louder phases around quiet ones where it’s possible.
- Move vehicles out of the driveway so the crew can set up and so panels can be laid flat for measurement.
- Clear a path from the garage entry into the home. Even with shoe covers and drop cloths inside, a clear path speeds up the walk-through.
- Have the HOA approval paperwork handy if your subdivision requires it.
Shoe covers on hardwood, drop cloths on tile, and quiet tools during naps are all part of the Cedarwell Care Promise on every visit, and none of that is an upcharge. But a cleared garage floor and a plan for the dog are what determine whether the day feels smooth.
A Safety Note About Springs and Torsion Hardware
Torsion springs and the cables that run alongside them are stored energy. A wound torsion spring can cause serious injury if it’s mishandled, and the tools used to wind them are specialized for a reason. This isn’t a component for a homeowner to adjust, tension, or replace, even with a tutorial. The same is true for opener wiring at the panel, where a mistake can be dangerous. If your door is binding, springy, or off balance, that’s a professional’s call. If you’d like a look at the spring side of things specifically, our Garage Door Spring Repair in Mesquite page covers what’s safe to check yourself and what isn’t.
Common Mistakes to Avoid
- Accepting a verbal estimate for a day-long job. A verbal quote covers the door and nothing else. Ask for a written document that lists exclusions and the conditions that would change the price.
- Scheduling an install during a work-from-home heavy week. Even a clean install brings phone calls, drilling, and a walk-through. Plan it for a day when a few hours of disruption won’t derail your morning.
- Not walking the opening with the estimator. In older Mesquite neighborhoods, framing and rough-opening size are the two biggest time variables. If the estimator never looked at the opening from the inside, the estimate is a guess.
- Choosing a door from a catalog without checking HOA rules. See it in person, and confirm the color matches what your subdivision allows. A returned door is a second visit.
- Skipping the walk-through because the crew is running late. The walk-through is where balance, safety-reverse, and travel issues get caught. Skipping it to save twenty minutes is the most common way to lose a week to a callback.
- Ignoring a rotted header to keep the schedule. If the header is compromised, proceeding installs springs into damaged wood. It’s a stop-and-fix moment, not a “we’ll come back for it.”
- Assuming the door brand determines the timeline. The brand (Genie, Clopay, Amarr, Wayne Dalton, and others we’re trained on) has far less impact on install time than the condition of what’s behind the drywall. The opening is the variable that matters.
For the deeper, door-specific side of the process, our Garage Door Installation in Mesquite page covers materials, insulation options, and how to size a door for a given opening. If your current door is binding or noisy and you’re not yet sure whether it needs replacement or repair, Garage Door Repair in Mesquite walks through the decision.
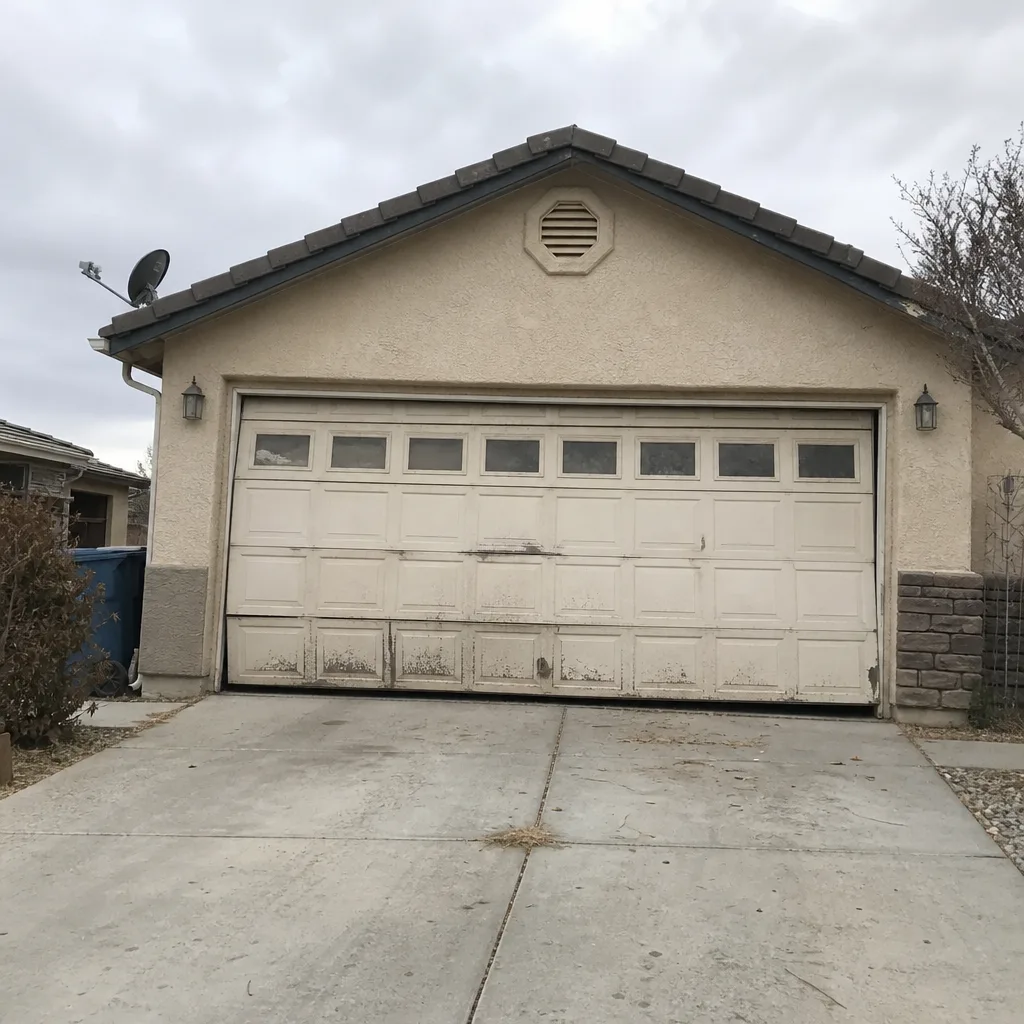
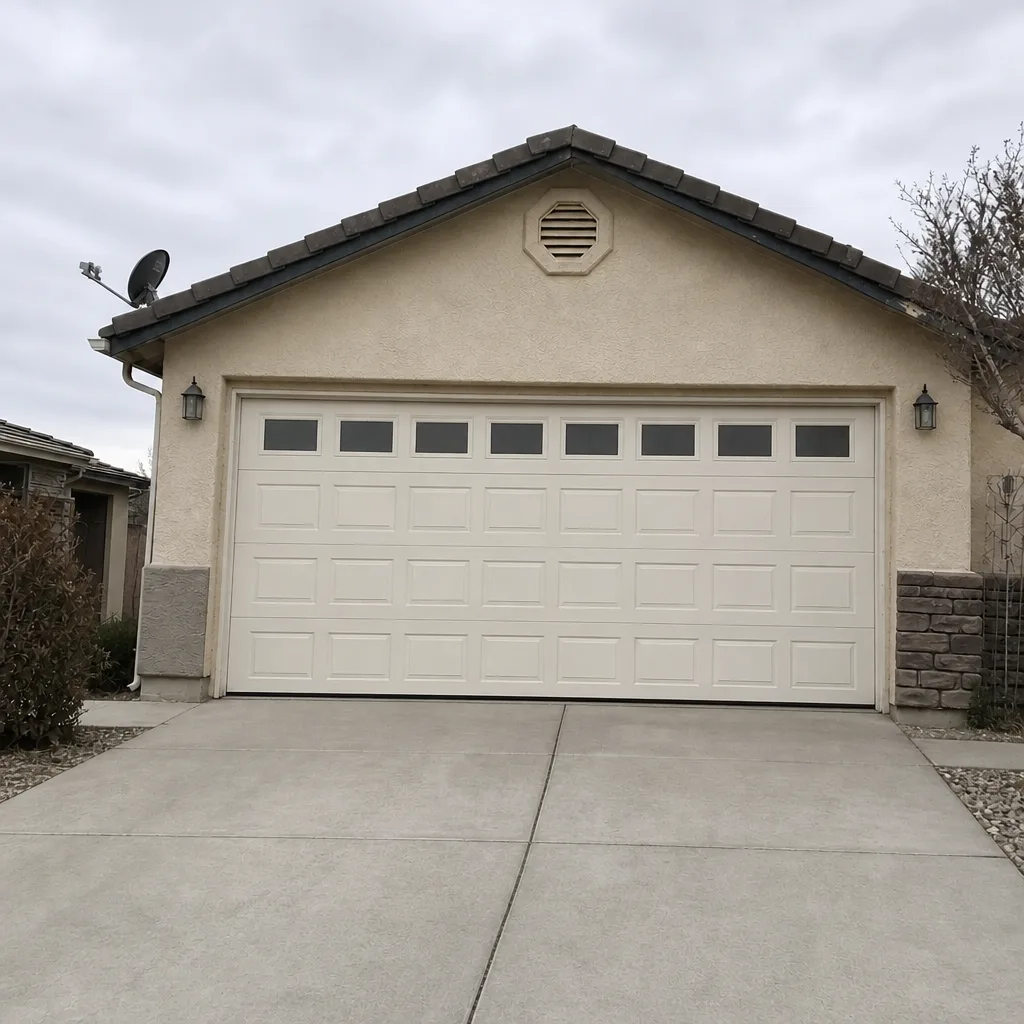
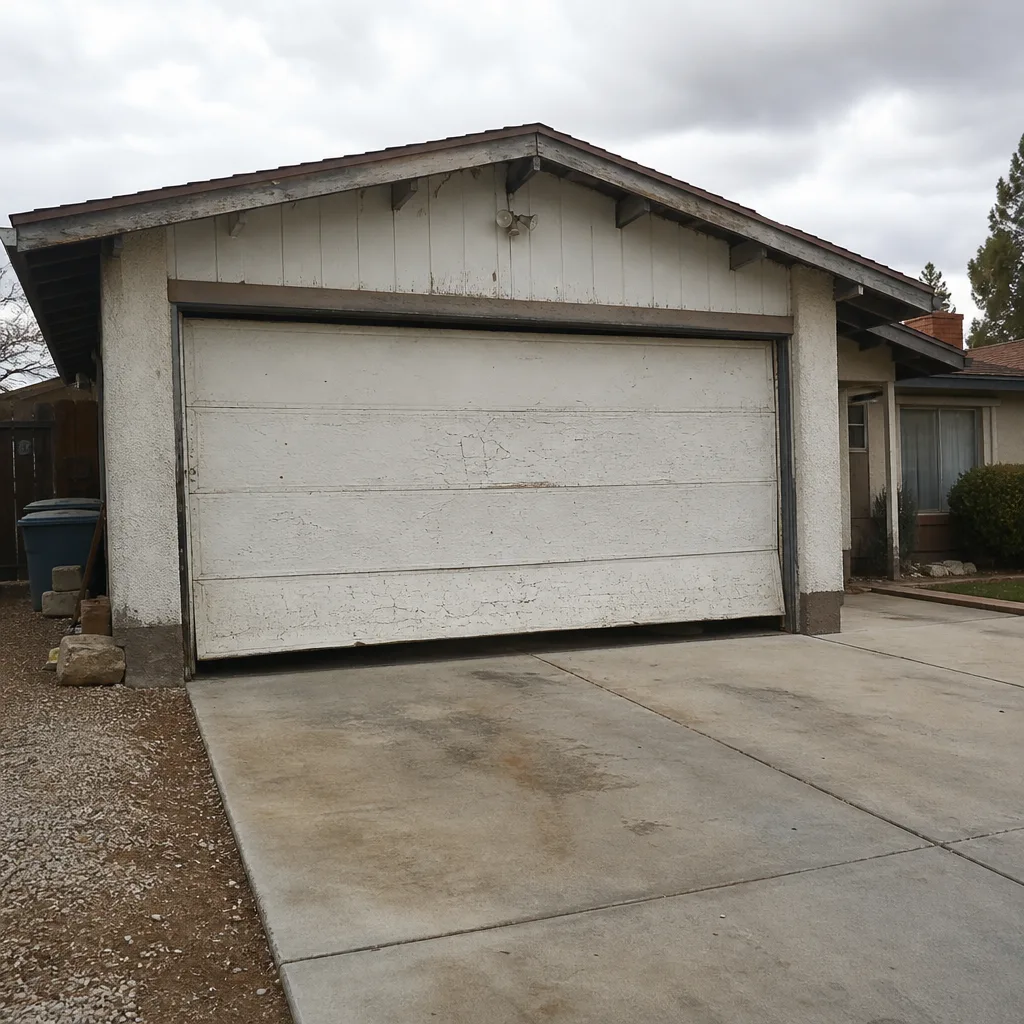
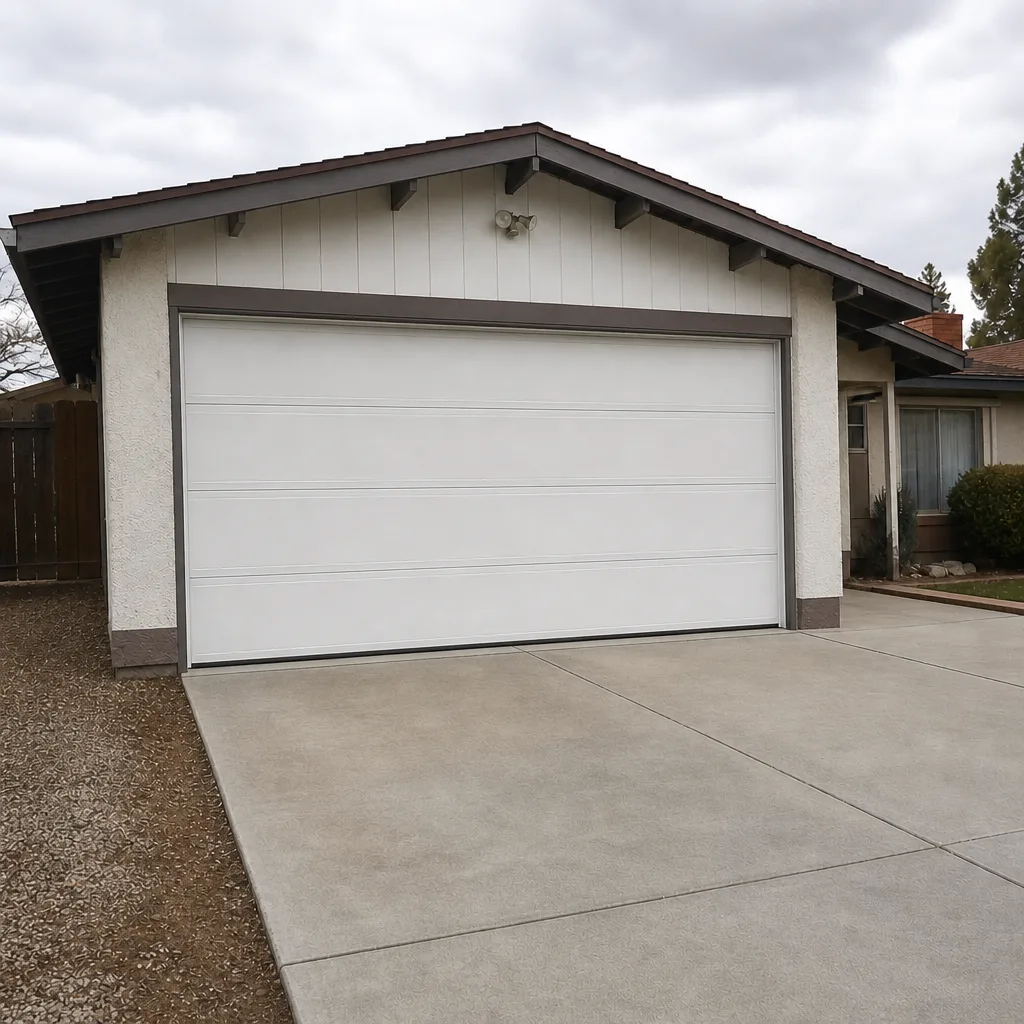
See the difference
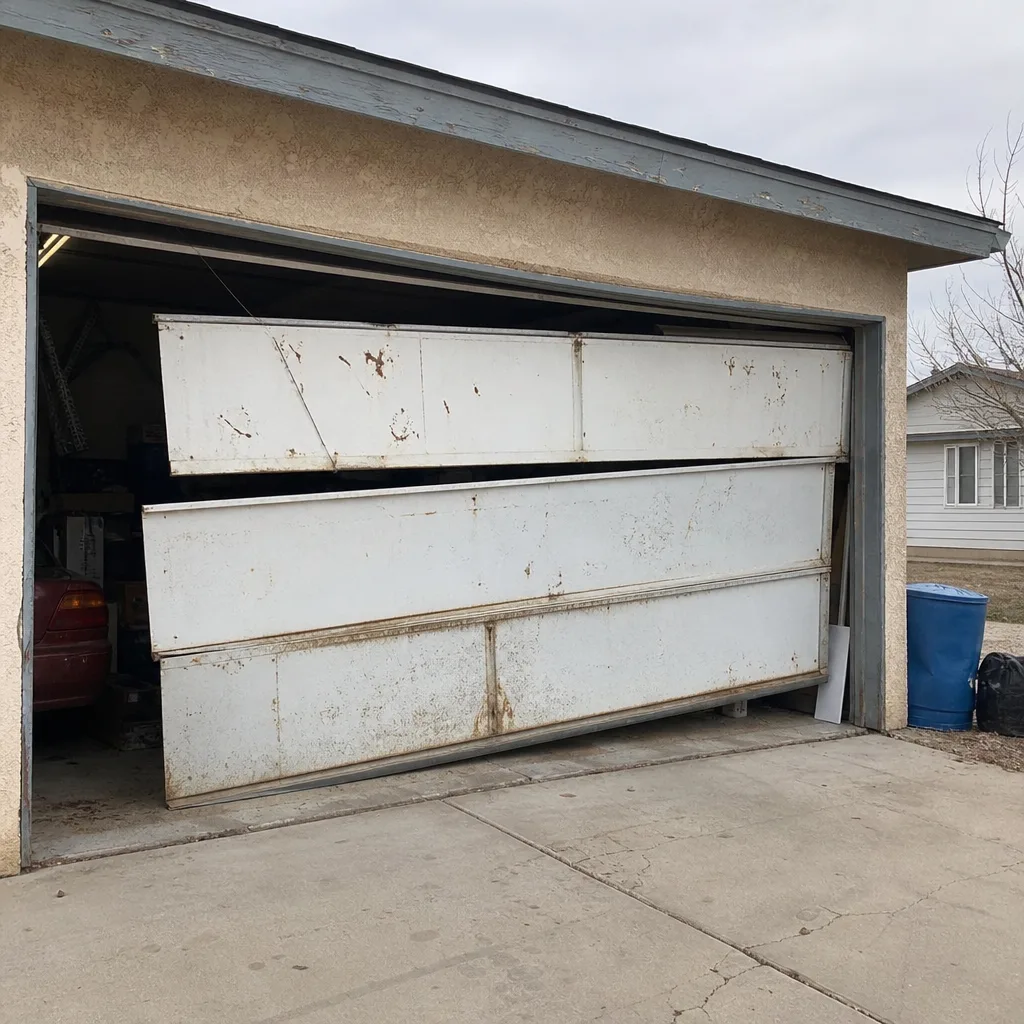 Before
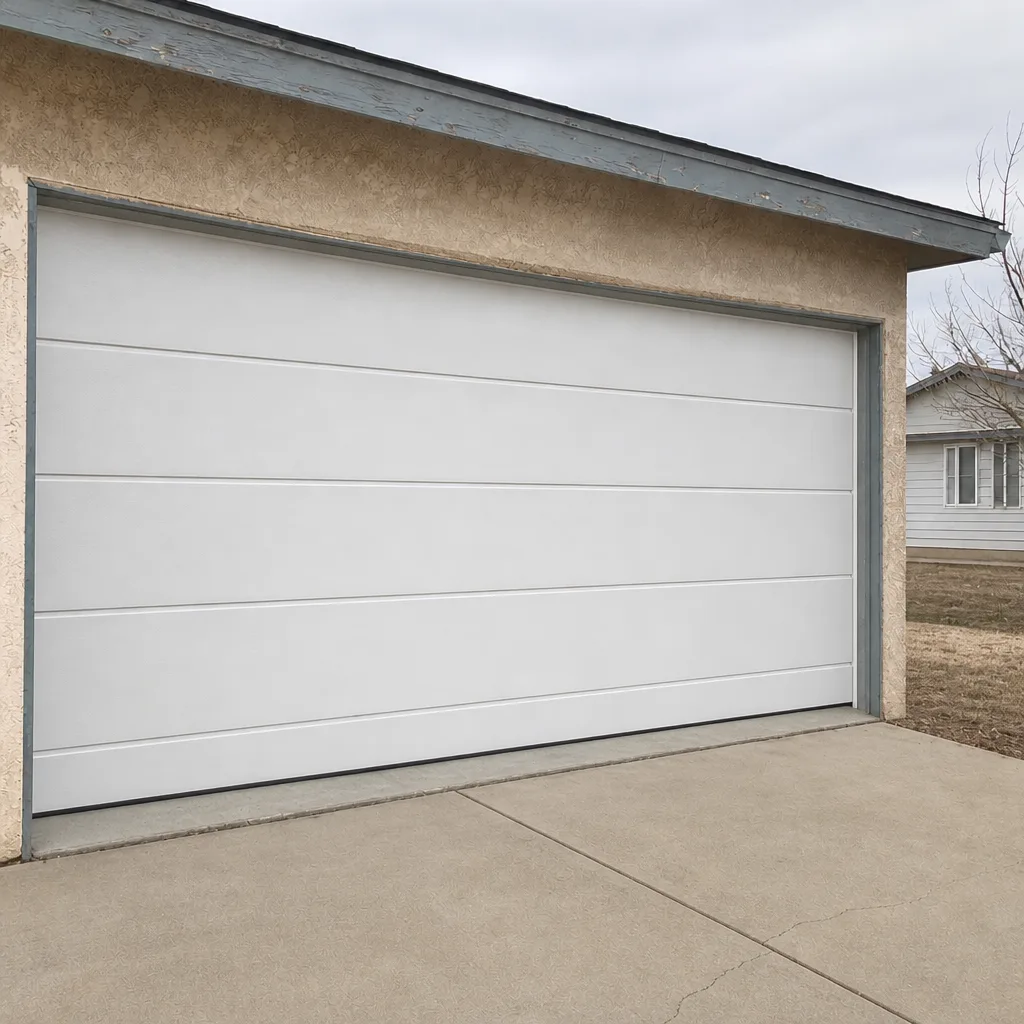 After
 Before
 After
 Before
 After
When to Call a Professional
Call a professional if your opening is out of square, the header looks cracked or water-stained, the existing wiring dates to the original build, or you’re unsure whether your rough opening matches a standard door size. Call if the door won’t balance or the springs look off, or if you’re considering a torsion spring adjustment (a genuine safety issue, not a DIY task). Call if you’re replacing an opener at the same time and want the wiring brought up to current code. And call if you’d rather have a written number in hand before you commit to a day that affects your family’s schedule.
Fernbrook Garage Door Repair Mesquite offers free estimates in Mesquite. Call (888) 255-7680. A live person answers 24 hours a day, no voicemail and no callback tree. Every visit is backed by the 365-Day Done Right Promise and comes with a written price before any work starts.
Frequently Asked Questions
Yes. Most single-car and double-car installations in Mesquite finish in one day, typically 4 to 8 hours depending on the door size and the condition of the opening. Jobs that involve a rotted header, out-of-square framing, or code-related wiring updates may stretch to a second visit. A written completion estimate given before work begins is the best way to know whether your install fits in one day. Call (888) 255-7680 for a free estimate.
Plan on 6 to 9 hours for the combined installation, because the opener wiring and safety-sensor circuits add a full phase on top of the door work. If the existing wiring is code-compliant, the added time is smaller. If it isn’t, the crew needs to run new wiring, which typically adds 30 to 60 minutes. Call (888) 255-7680 to schedule a free estimate.
Usually yes, briefly: to install or reconnect the wall button, wire the safety sensors, and complete the walk-through with you. Our technicians wear shoe covers on hardwood and lay drop cloths on tile, and they ask before moving anything, including a dog crate or a stroller. If a family member is asleep or a pet needs to be kept out of the way, letting the crew know at arrival handles it. Call (888) 255-7680 with any questions about the visit.
It can. Heat and sun dry out garage framing, so header boards on south- and west-facing walls are more likely to be cracked or checked, which means a stop-and-replace step during the install. Desert dust in the track channels also adds 10 to 20 minutes of cleaning before the new tracks can be set. Neither is a bad sign; it’s Mesquite-specific reality. Call (888) 255-7680 for a free estimate that accounts for it.
Not without your approval. Our standard practice is a written price before any work begins. If the crew discovers a rotted header or out-of-square framing, they stop, show you what they found, and get approval before the price changes. You should never see a surprise line item on the invoice. Call (888) 255-7680 to schedule a free estimate.
Most of the day is spent in the garage and driveway. Interior time is limited to the wall-button and sensor work plus the final walk-through, typically under 40 minutes total across the whole install. On a Fernbrook visit, the crew cleans up and takes a photo of the clean-up before leaving. Call (888) 255-7680 for a free estimate or to ask about a specific home setup.
The Bottom Line
Installation timelines on paper assume a perfect job site. The real variable is what the crew finds once the old door comes down. On a prepared opening in a newer Mesquite subdivision, a single-car door is a 4 to 6 hour job; on an older build with heat-dried framing and dated wiring, 8 to 10 hours or a second visit is more honest. The three things to hold onto: ask for a written completion estimate, know what a working crew looks like at each phase, and don’t let the final walk-through get skipped. That walk-through is where balance, safety-reverse, and travel issues get caught, and it’s the reason good installs don’t come back as callbacks. Call (888) 255-7680 for a free estimate, and we’ll put your timeline in writing before we start.
Every job is backed by the 365-Day Done Right Promise and the Cedarwell Care Promise: written price before work begins, shoe covers and drop cloths inside the home, and a photo of the clean-up before the technician leaves. Fernbrook Garage Door Repair Mesquite is an independently owned and operated member of the Cedarwell family of businesses, and every location operates under the same Care Promise standards. Our technicians are trained on eight major brands, including LiftMaster, Chamberlain, Genie, Clopay, Amarr, Wayne Dalton, Craftsman, and Raynor, and have up to 24 years of experience. For more on the company, visit our Fernbrook Garage Door Repair Mesquite home.
Written by the team at Fernbrook Garage Door Repair Mesquite.